Guide developed and supervised by: no_life456780 (PS) Contributors: Xmandark (Switch/Steam). ENDY (PS/Steam)
Last Update Date: March 9th 2026 Last Update Content: Added new techs, added a small paragraph at the end of the beta and gamma sections, changed the shwocase section and added+changed some matchups.
Hawks (Slicing Wind) is a highly mobile character that is incredibly efficient at killing the enemy. He mainly focuses on positioning himself in ways to get the jump on the opponent and outright killing them for it. This character is also a super level reliant character, being nearly incapable of performing well without high levels, so if you're super aggressive early game this character may not be for you. Strike Hawks also has an insanely high skill ceiling and is not a character that is easily picked up. Playing Slicing Wind without strong knowledge of every little advantage you can get will probably just get you killed.
Best Map: Any
Individually, he likely performs better on UA and Chaos City than he does in USJ due to the increased amount of wallrun spots, however you have to keep in mind that this is true for most characters and Strike Hawks doesn't lose as much as others. For this reason the argument for any map to be his best can be valid, so it's recommended to not worry about your map pick too much.
Alpha Skill - Cold Wind
The alpha has 3 main modes. Tap, hold, and Super Tornado.
Tap alpha is a standard projectile that is rather weak at first glance but has some properties that make it really strong. Tap alpha carries your momentum very well, making this skill a great mobility tool. Tap alpha staggers grounded opponents that are on HP and knocks opponents down when they are in the air. This makes this skill a fantastic anti-air ability and great at securing people that are running away thanks to the grounded stagger and disruption it causes. It's also worth noting that when aiming this skill against a target that is in the air aim below them since the hitbox upwards is massive. When using this skill for mobility don't spam it too much and instead delay your shots slightly. Tap alpha has a faster fire rate when you are grounded.
Hold alpha is an AoE tool primarily used to start combos. This version has some consistency issues when used against targets in the air so it's recommend that you use this skill primarily against grounded targets. It's recommended to aim slightly below their feet so that the tornados hit the ground before hitting the opponent. Most of the time the best use case for this skill is simply area denial in more open areas as it provides visual clutter and long lasting large hitboxes. It's worth noting that this skill only gets the 3 tornados at Level 7. For this reason it's recommended to not use hold alpha basically ever until you have alpha Level 7.
Super Tornado is a special use of hold alpha. When you aim straight up or down with hold alpha you can spawn all 3 tornados very close to each other, sometimes even fully combining into one. Due to the nature of needing all 3 tornados this is again only possible at Level 7 and beyond. This skill's primary use cases are in more enclosed areas as an area denial tool, finishing downed people, and in certain match-ups against characters with downpower reduction such as Rapid All Might and Young All For One. This will essentially place a giant slow moving projectile on the ground that will do 162 damage and cause knockdown, which can make you very hard to approach if used properly.
Beta Skill - Wind-Cleaving Blade
Probably the simplest move in the kit. This is your combo starter, your combo ender, your primary damage, your mobility even. This is your most important ability.
The first thing to note is that you should almost never charge this skill, as charging the ability has no difference in any of its stats, it does not do more damage nor have more range.
When starting combos with this skill it's important to mention that you should position yourself at the skill's maximum range (you want to hit the enemy at the edge of this skill's range) as this is the only range where beta will consistently combo into other abilities outside of alpha. The skill is also easily rolled after the first 10 damage if you are too close to the opponent.
The use of this ability for mobility is also very limited due to its massive endlag so don't use it when trying to escape an opponent unless you know for sure they don't have the ability to hit you. If you must use this skill for mobility, make sure to at least break line of sight first and make sure the spot you're dashing to also breaks the line of sight.
The direction this skill sends after connected is partially determined by where the opponent is hit. As for forward and backwards it's kinda random but for left to right the skill tries to send the user towards the center of the skill, so if you hit the opponent directly, it will always be sent either straight forward or backwards but if you hit slightly to the left, then the opponent will be sent to the left, with how sharp the angle is depending on how far to the left they were hit.
This skill gets super armor and a damage spike of 9 damage at Level 7. The primary reason to level this skill is for the super armor. Getting this ability to Level 9 servers little purpose, as you don't get a bigger hitbox or shorter cooldown, just a 8 damage increase relative to level 7.
Sometimes beta does not register, this often happens when you try to do hold gamma into beta while being in front of the opponent during the final tick of gamma. This can also happen when you are in tight spaces where beta doesn't have the room to move. If you want to avoid this issue then the best you can do is to fight in more open areas where Hawks excels and don't go for hold gamma into beta when you are in front of the opponent during the gamma.
Gamma Skill - Spiral Slash
This skill has 2 versions to go over being tap and hold gamma.
Tap gamma is the primary way to use this skill for mobility since it acts as momentum amplifier which lets you carry high speed momentum and make it even faster such as with his special action. See movement techs for more info. Tap gamma has applications in combos too due to its lower downpower value which lets it do combos that hold gamma cannot do.
Hold gamma is primarily used for damage. This skill has mobility applications, however that's very niche and generally outclassed by other ways of gaining height and distance, it can rarely come up. This version of gamma however is way better for damage since it has more tracking than tap gamma and is a lingering hitbox that easily catches rolls, and is also your best combo starter when you're in a closer range. It's important to note that when using the skill for damage do not use movement inputs and instead just hold the gamma, if you move too much you risk the opponent falling out of the gamma. See combos for more info.
At level 7, this skill marks opponents with the final hit, allowing you to see their position through walls for a short amount of time.
When canceling hold alpha into gamma sometimes the gamma will simply eat the ammo and not come out. The best way to avoid this issue is to simply do it when airborne, as this issue only seems to happen when grounded so if you are using tornado into gamma to finish an enemy then just do it when you are slightly airborne instead.
Special Action #1 - Fierce Wings: Flight
This skill is your primary momentum gain, however it's also your most limited ability. A big part of this characters skill ceiling is making sure you always have this avaliable and never let it go to penalty cooldown, as the massive 16 second penalty reload hurts and often means death. That said proper use of this skill can turn you into one of if not the hardest character to hit with alphas in the entire game so keep that in mind. When using this skill in combination with alpha it's important to note that your momentum will be stopped if you use alpha after the first initial boost the game automatically does. For this reason either do the alpha super early or use gamma.
See mobility techs for more info
Special Action #2 - Fierce Wings: Transport
The pickup version of this skill is niche, but has its uses especially when playing in stacks. It allows you to pickup an ally and transport them to wherever you fly. Allies being carried can attack, and will not dismount so long as it's not an ability that locks them in place like Ibara's alpha. You can also carry allies while they are drinking healing items or while they're lying on the ground after a knockdown (but does not work against DOWNd allies).
Basic Attacks
Ground Melee
Melee is a great option for catching wake-ups as its long linger and crazy tracking is strong for catching people that are already weak from a previous combo. There's also combo starter and ender applications for this skill but those are generally harder techs to perform and often redundant. Use this skill when you don't need much damage to finish off the opponent or don't have gamma up. Otherwise use gamma as gamma can combo start and leave a much bigger scratch on the enemy while effectively doing the same thing as ground melee.
Air Melee
This is a quick 2-hit slice that does respectable damage and has some nice combo applications. The tracking on this skill isn't anything special, so using this ability on its own is rather rare, but it's still quite solid as a combo extender in some niche combos.
Leveling Paths
It's important to note the reasoning behind each spike in power and why they need levels. Alpha:
More Damage
Extra Ammo at Level 4 and 7
Bigger Hitbox at Level 4 and 9
Triple Tornado at Level 7
Beta
More Damage (12 DMG spike at Level 7)
Super Armor at Level 7
Gamma
More Damage
2nd Charge at Level 4
Massive Damage Spike at Level 7
Cooldown Buff at Level 9
Marks enemies at Level 7
With this knowledge in mind let's start by saying that Gamma Level 4 is a must, that's the first thing you should do and should generally avoid any fighting until you have that 2nd charge.
Beta Level 9 is also extremely hard to suggest since you don't get any benefit outside of 4 damage for levels 8 and 9 which given how much damage his combos do it isn't that useful, so any levels towards Beta after Beta Level 7 are better spent on other things.
The rest of the levels could be given to teamates. As for beta or gamma 7 first generally it's suggested to get Beta first if possible, but if you're about to enter a fight and can't get Beta Level 7 but can get Gamma Level 7, then get Gamma 7 as it will help you survive in the moment and eventually snowball into Beta Level 7 later.
Heres a few level paths.
Generalist Path
This specializes in being good at all ranges.
This path is extremely good for general play since your melee damage will still be fairly good even at low levels, and getting extra alphas and bigger hitbox sizes helps with combo starting, finishing downed people, area control, and just general damage for situations where a combo is too risky.
Combo Path
This path specializes in making your combos as impactful as possible as early as possible, but in the process sacrifices some mobility and range potency alpha levels provide.
The rest of the levels could be given to teamates again.
Damage Path
This path is focused entirely on damage, so getting gamma level 7's 30 DMG increase is a top priority, and the beta levels are prioritized for armor to beat out other moves and stack damage on the most important parts of your combos. After gamma level 9 you can give the rest of your Level-Up Cards to your teammates.
Techs
Mobility Techs: Perfect Gamma Boost
By spending 40% of your Special Action and a Gamma charge you can get what is likely the fasted momentum in the entire game without tuning or weird glitches. Simply start your flight, input a boost, and immediately as the boost starts use tap gamma. This will shoot you so fast that you will often go into the Poison Mist in later zones bases solely on the speed sending you extra far. Use this to escape fights you don't want to be in anymore but don't spam it as its high special cost can drain it quick.
Mobility Techs: Special Cancel Boost
By tapping special and inputting a alpha or gamma you will get a sizable speed boost that can be chained over and over if needed to. Use a air melee right before landing for a bit of extra distance. The speed is nowhere comparable to Gamma Boost but this still is super useful especially when combined with the following tech.
Mobility Techs: Special Conservation
By doing the previous tech with fast enough inputs you can actually get the boost without putting your special on a penalty reload start span (the time it takes to begin reloading again) which makes the above tech nearly infinite when used properly. Proper use of this tech is nearly mandatory to succeed at this character at high Ace level. This tech can be performed with alpha, gamma, and air melee, all of which having their own uses.
Mobility Techs: Half Alpha Charge
This tech is done by charging your alpha only partially and in doing this you will be able to stay airborne for slightly longer, however if the risk of getting hold alpha is too great for you then don't do this tech. This tech can also be performed in-tandem with the special conservation tech, however the inputs are rather difficult to get used to.
Mobility Techs: Hold Alpha Boost
When using hold alpha you can cancel into tap gamma and if done fast enough you will gain a significant amount of momentum without the use of special action even in the air.
Mobility Techs: Moon Jump Gamma
This is a tech exclusive to the wall runner passive provided from rapid card effects and the wall runner tuning perk. By inputting a neutral jump off a wall and clicking gamma you get a unbelievable amount of hight. By doing super jumps sideways and using the tech you can also get a sizable speed boost that way. Proper use of this tech is basically mandatory to survive when you don't have access to your special action.
Mobility Techs: Momentum Cancel
This tech is a wallrun-exclusive continuation of the moon jump gamma tech. By performing moon jump gamma in a direction that isn't directly upwards (this can be done by simply doing the jump right after attaching to the wall or by doing the jump diagonally) you can cancel the height gain provided by moon jump gamma with alpha, getting less height but allowing you to fire alphas while remaining mobile and providing a great mixup option.
Mobility Techs: Off-Spawn Special
Your special action wont drain in the first 3 seconds of the game so use that to get far away from your spawn spot if needed.
Battle Techs: Melee Canceling
By delaying your melee 2 for as long as you can you can cancel it with a movement input which lets you do some combos off melee that are not normally possible. Generally however save this for last as its much less useful to learn than the mobility techs.
Battle Techs: Super Tornado
By looking straight up or down you can create a giant tornado that is extremely good at finishing downed people and covering area. The best combos for finishing downed people are, tornado tech twice or, tornado tech, hold gamma, alpha tap. Both of these work with 714 levels and are very efficient.
Escape Tech: I-Frame Flight
By using your special action in invincibility from a knockdown or Critical Permeation you will not lose your i-frames early unlike most actions. Use this to get out of nasty wake-up setups like Shinso Space Hop beta.
Combos
The different ways you can combine and chain various skills for higher damage within 500 DP (Downpower). The downpower of Hawks's abilities are as follows:
The text of the combos below will be colored by how true they are, in this case, we will define as "True" combos that, without 3rd party or tuning interference, can only be escaped/interrupted by Overhaul and/or Mirio, as those are special cases.
White Text means that part of the combo is True on both GP and HP. Green Text means that part of the combo is True if the target is on HP only. Blue Text means that part of the combo is True if the target is on GP only (Guardbreak hits are considered GP hits). Red Text means that part of the combo is Untrue, and therefore the enemy can escape it.
This works against grounded targets on HP and is completely true. Alpha's fire rate is faster when grounded but the combo is still true even when airborne, it's just a bit harder.
This combo is also important against air targets, where it's only true against when you are grounded and firing as fast as possible while moving forward. If you are also in the air the opponent will have the opportunity to wake, however this often just results in them eating another alpha. The timing is not that hard though, since you can just buffer the alphas.
Sometimes alpha -> alpha -> alpha isn't enough damage and in cases like this a tap gamma can be the edge you need. You need to be close tho for it to work. Only works on HP.
You can use beta, gamma, or alpha in this combo but these are just your traditional hold alpha starter combos. Can't be done off the Super Tornado tech however, due to down power restrictions and the last alpha may not work if you get one to many ticks of the hold alpha. Overall strong option.
This is a hp exclusive combo that generally just increases the damage of a normal alpha alpha alpha combo slightly if your close enough to the opponent. Its rather niche but not bad.
Special Conservation Alpha -> Air Melee -> Tap Gamma
A slightly higher dmg version of the previous combo at the cost of taking a gamma charge. The damage increase is only significant enough to be worth it if you have gamma 7, otherwise stick to the previous one for the most part
Beta -> Alpha -> Alpha
This combo is primarily used when you land beta in a range that's unfavorable to go for a gamma or melee follow-up. It's a strong and consistent option.
Beta -> Hold Gamma
This is a traditional Strike Hawks combo that deals high damage. It's consistent but only when using beta from its max range. If you're too close you risk beta sending the enemy in a direction that makes the combo unfavorable.
Beta -> Tap Gamma -> Alpha
Very similar to the previous combo, just with a bit more damage in exchange for being less pratical due to tap gamma's limited tracking.
Beta -> Beta -> Alpha / Tap Gamma
This combo is the highest damaging one, but is also extremely expensive, putting your beta on a 10 seconds penalty cooldown, which can be very bad to do if you do it too often. It's great against highly durable characters like Technical Tomura Shigaraki, and is also great when your beta hits multiple people as it will combo them all.
Beta -> Full Melee String
This combo is generally niche with its spacing and consistency being rather weird however its a nice guard break type combo for when your other skills are on CD.
These are very similar combos. Do Gamma -> Alpha -> Alpha on HP and Hold Gamma -> Alpha on GP since you can only get the 2nd alpha if the opponent doesn't wake. This is your primary gamma combo starter if you don't have beta to combo after.
Hold Gamma (4 Consecutive Slashes) -> Beta -> Alpha
This one is quite weird to do since it doesn't work on GP unless you hit the gamma in a specific way. For this reason it's suggested to use the next combo more. For this combo to work you must only land 4 of the small consecutive slashes, otherwise you won't be able to land the alpha.
Hold Gamma -> Beta
This is just the previous combo with slightly less damage but much better consistency on GP so use this one more when you do a gamma combo starter.
Hold Gamma (Final Slash) -> Air Melee -> Tap Gamma
This combo is extremely difficult to perform, being likely the hardest combo in his kit. You have to be at a certain range where your gamma would just barely track to the opponent, and you have to hold away from them in order to avoid landing the small slashes. Afterwards, you gotta approach the enemy when you're about to perform the final slash, do air melee, and hold gamma again immediately. You have to land on the ground after the air melee in order to cancel it in time. Overall this combo is niche and super difficult but it's quite flashy.
One melee cancel string that is overall decent. This combo and the next one aren't worth learning over the mobility techs, as they are fairly rare and not that useful most of the time.
Melee 1 -> Melee 2 -> Melee Cancel -> Air Melee -> Tap Gamma
Just a harder but more effective version of the previous combo. Again, prioritize learning the other stuff first.
Extra Note
Strike Hawks is very receptive to team combos with good coordination, so on a team with low downpower skills Strike Hawks can come handy as a team combo enabler.
When playing this character you want to try to position yourself in a few key ranges, being right at the edge of beta range, very close to the opponent for gamma, or very far for alpha staggers. Which is best for the situation changes heavily, but with your super good movement you should be able to switch between the 3 at will. Just keep in mind your opponents effective range when picking which range to start the fight at. You don't wanna be in gamma starter range against an Assault Eijiro Kirishima for example.
This character is extremely good at positioning himself for teamheals, especially when combined with Divine Protection. Don't be afraid to drop a kill if it means you can position for a teamheal to save your team.
This character can also very effectively use revive cards as with his superior mobility he's very tough to kill, so if the fight is beyond saving run away and come back later, chances are even if they are still on the body you will be able to get the tag and get away with minimal risk.
Strike Hawks thrives as a support damage hybrid character for the reasons listed above. Learning how to tone it back on the aggression for the sake of your team is very important.
This match showcases the raw power behind triple strike comps with the wind general heat build.
This match showcases the solo queue environment using the quirk assist gear combat build.
This match showcases the utility Divine Protection brings to a team using the formal suit dangerous build.
This match showcases the team combo potential strike hawks has with low knockdown beamers using the quirk assist combat build.
The list of recommended special tunes (not ordered):
Divine Protection An amazing tune for Strike Hawks to help alleviate his large level reliance. It's useful in all stages of a match and can even come handy to resurrect teammates or pop teamheals. Due to Strike Hawks' insane mobility, he's able to escape if he gets attacked in the process of opening a Large Item Box (or after).
Kota Finder An alternative to Divine Protection that also helps him alleviate his level dependency issue. Hawks' high mobiltiy allows him to get to Kota's position in just a few seconds, no matter how far away he is. Compared to Divine Protection, Kota Finder gives you a higher initial level boost, but it's also a much riskier option, as if an enemy gets him before you do, you will be sitting with a useless tune. For that reason, Kota Finder should be equipped in the 2nd Special Tuning slot to view his location instantly.
Wall Runner A very strong option to expand on Hawks' mobility and help him with his cooldowns and lower Special Action reliance. This is the best tune for Strike Hawks due to the Moon Jump Gamma tech it enables, providing a very cheap and strong way to gain a lot of height, which Strike Hawks abuses incredibly well.
Willpower A strong survability tool which works well especially when combined with I frame special tech and boost gamma tech.
Space Hop Another mobility option for Strike Hawks, though not as strong as Wall Runner.
Special Action Reload Boost Another cooldown tune to dramatically increase Special Action reload speed after downing an enemy, allowing you to spam your Special Action for 18-20 seconds.
Ability Manifest A generalized good tuning skill but i prefer other options tho. Its recommended to carry several cards throughout your inventory and cycle through them properly with the ones you should prioritize in carrying and in being your primary slots being support, rapid (if you dont have wall run. If you have wall run skip these) tech, and assualt. Use them actively even if you cant garentee they will provide maximum value.
Crushing PU Charge A generalized good tuning skill but other options are prefered, but use it if you like it, it can be nice to refresh cooldowns in tight situations.
Critical Permeation (This tuning is bugged and might dispel the invincibility when attempting to heal.) A generalized good tuning skill with utility for escaping TOD combos and stalling for teamheals among other useful interactions. Flight does not remove this effect but carry and inputting boost will remove the invincibility.
Recommended Builds and Costumes (Ordered)
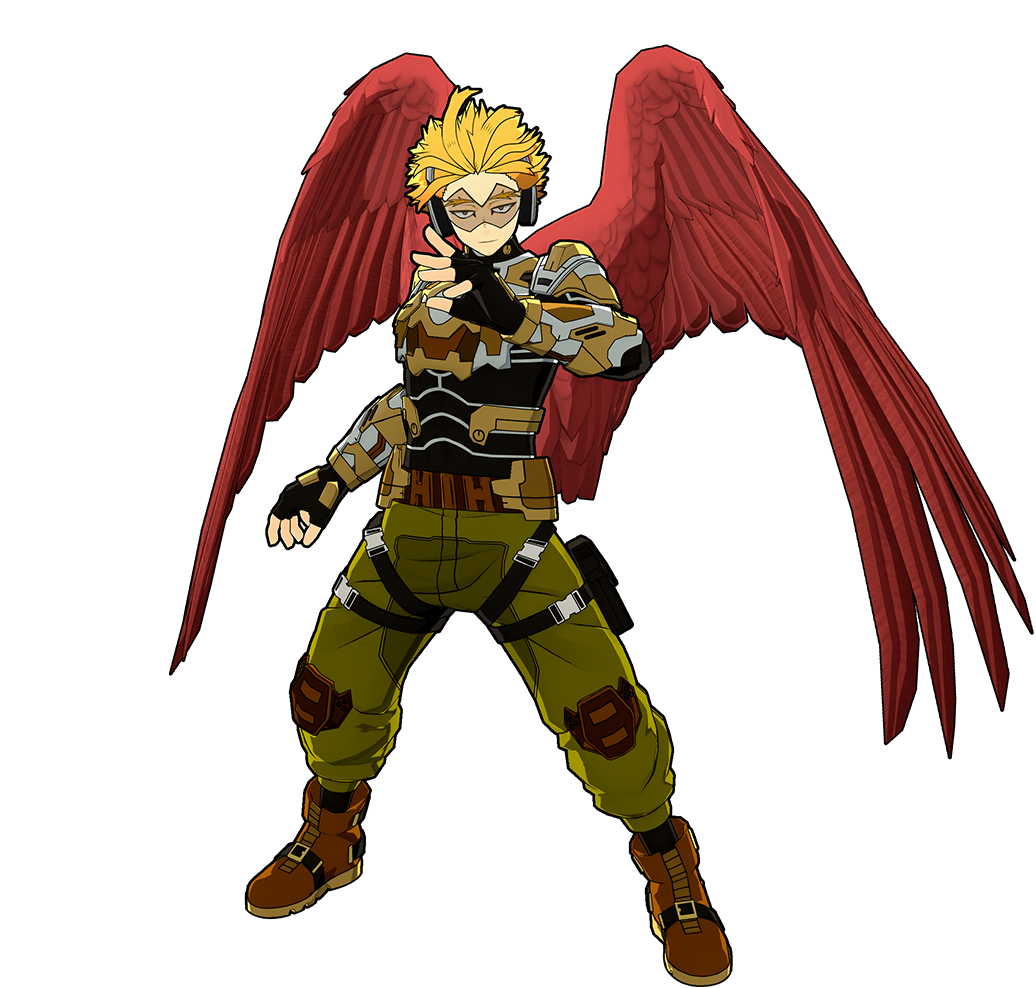
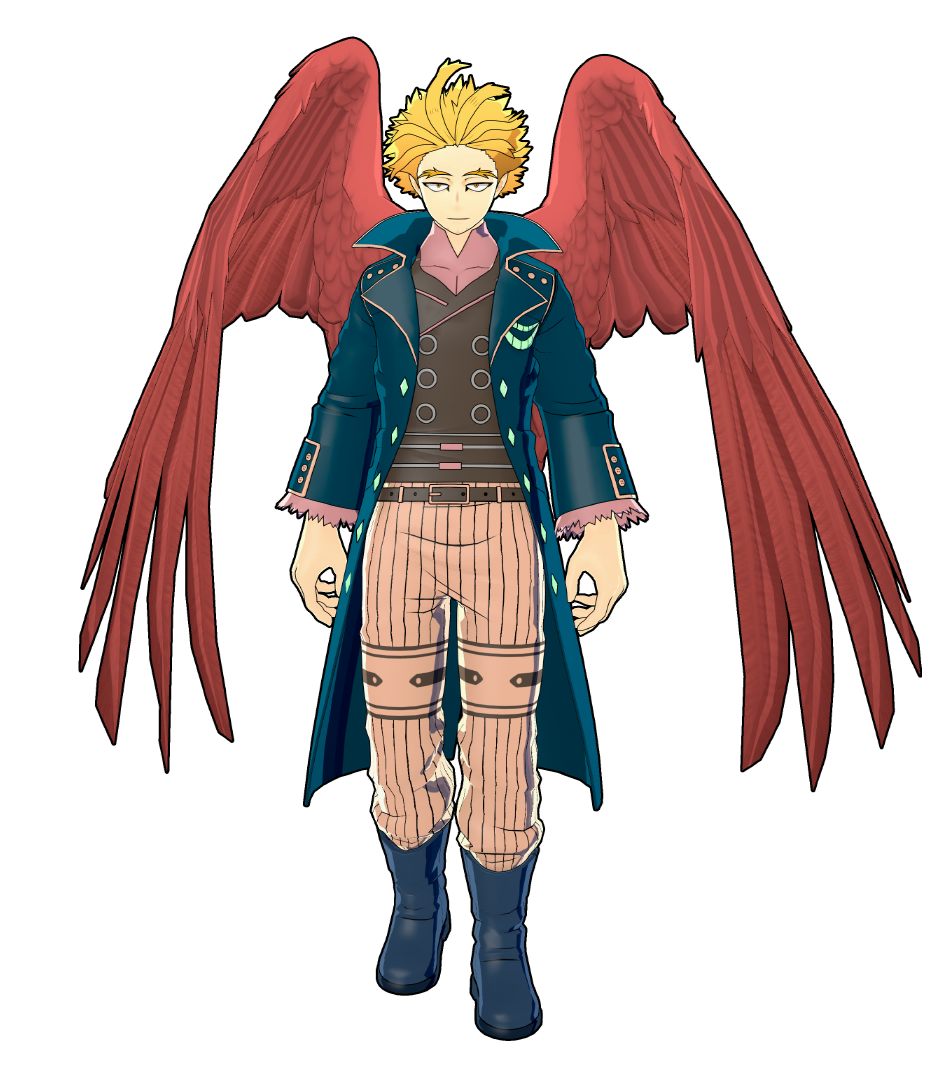
Quirk Assist Gear (Combat)
This build is the strongest option for strike hawks so far having among the best regular tune loadouts possible and wall runner while also having the super strong strike hero special tune. Currently it's recommend to run Willpower as Kota Finder can be really inconsistent, and Willpower is likely the most useful for the current meta. This recommendation may change depending on current meta.
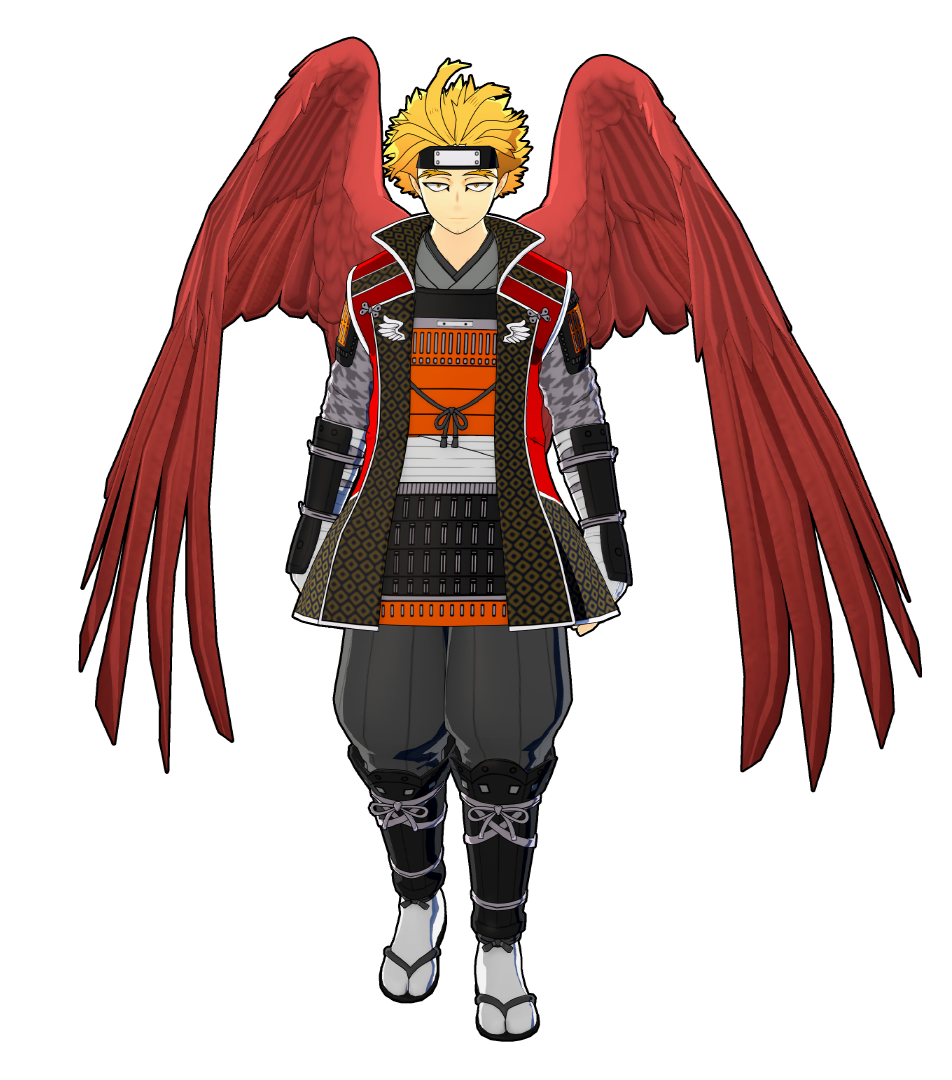
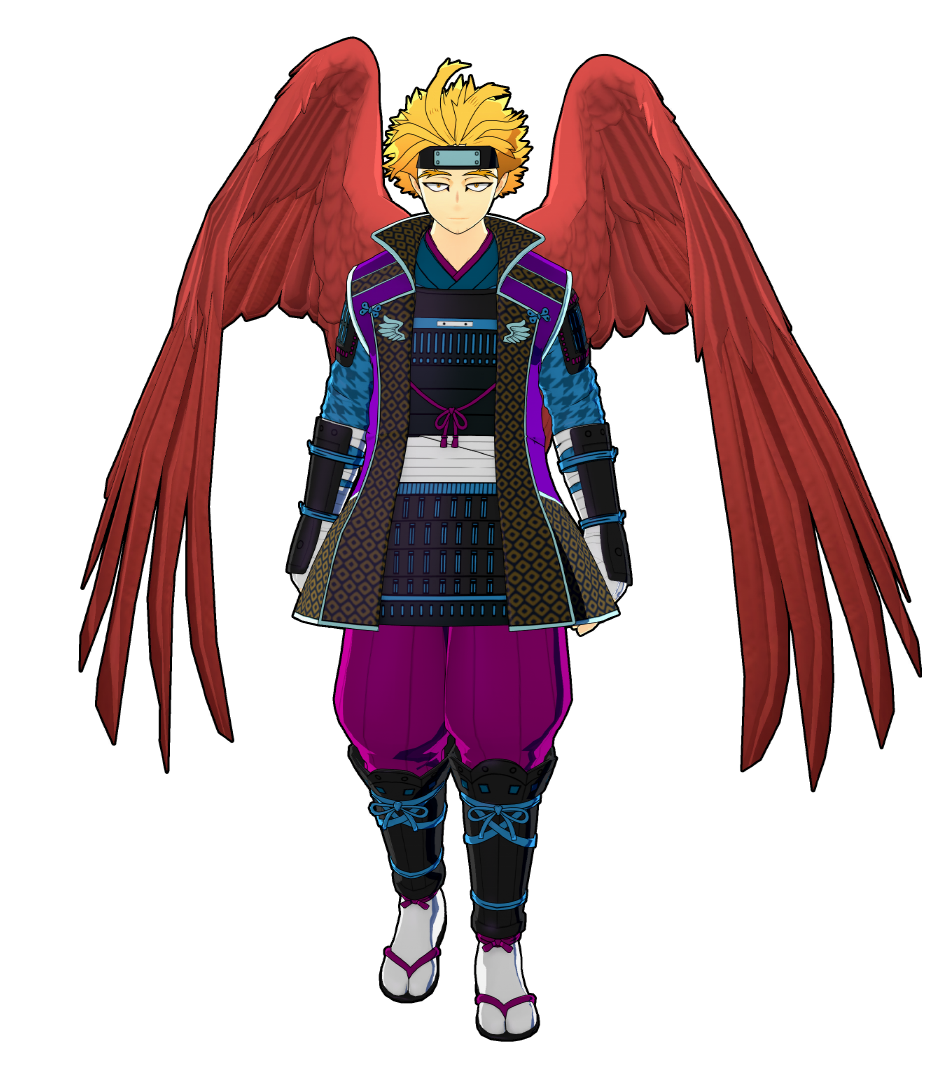
Wind General (Heat)
This outfit has insanely high damage and wall runner, but doesn't have the extra loot tune and instead uses Revenge Strike. This one would make it harder to get to all level 7s, but it makes you significantly stronger when you get there.
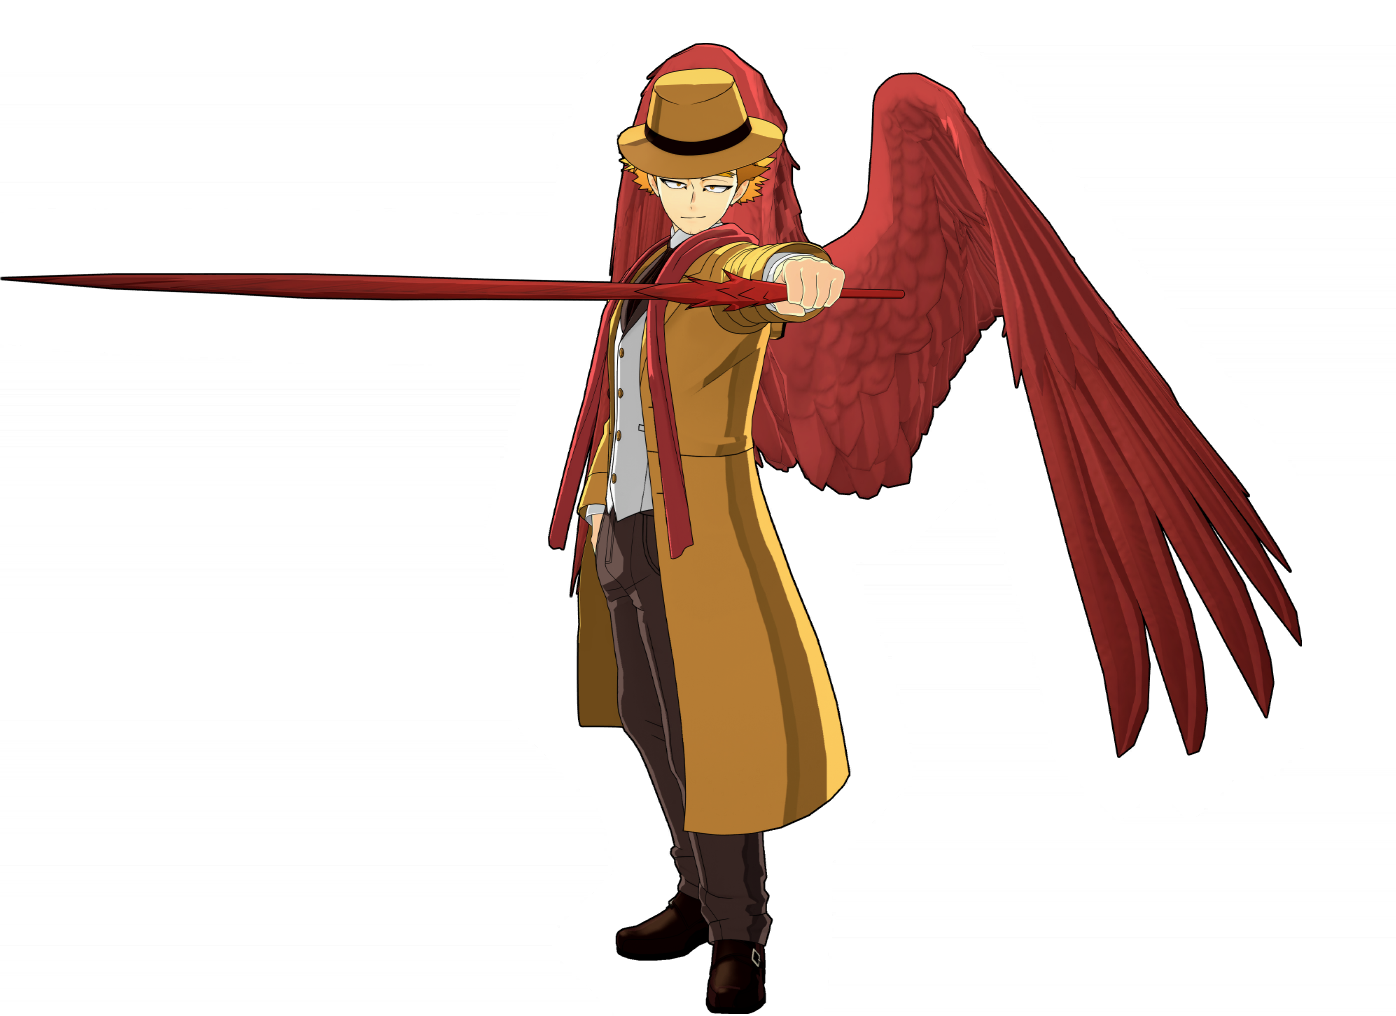
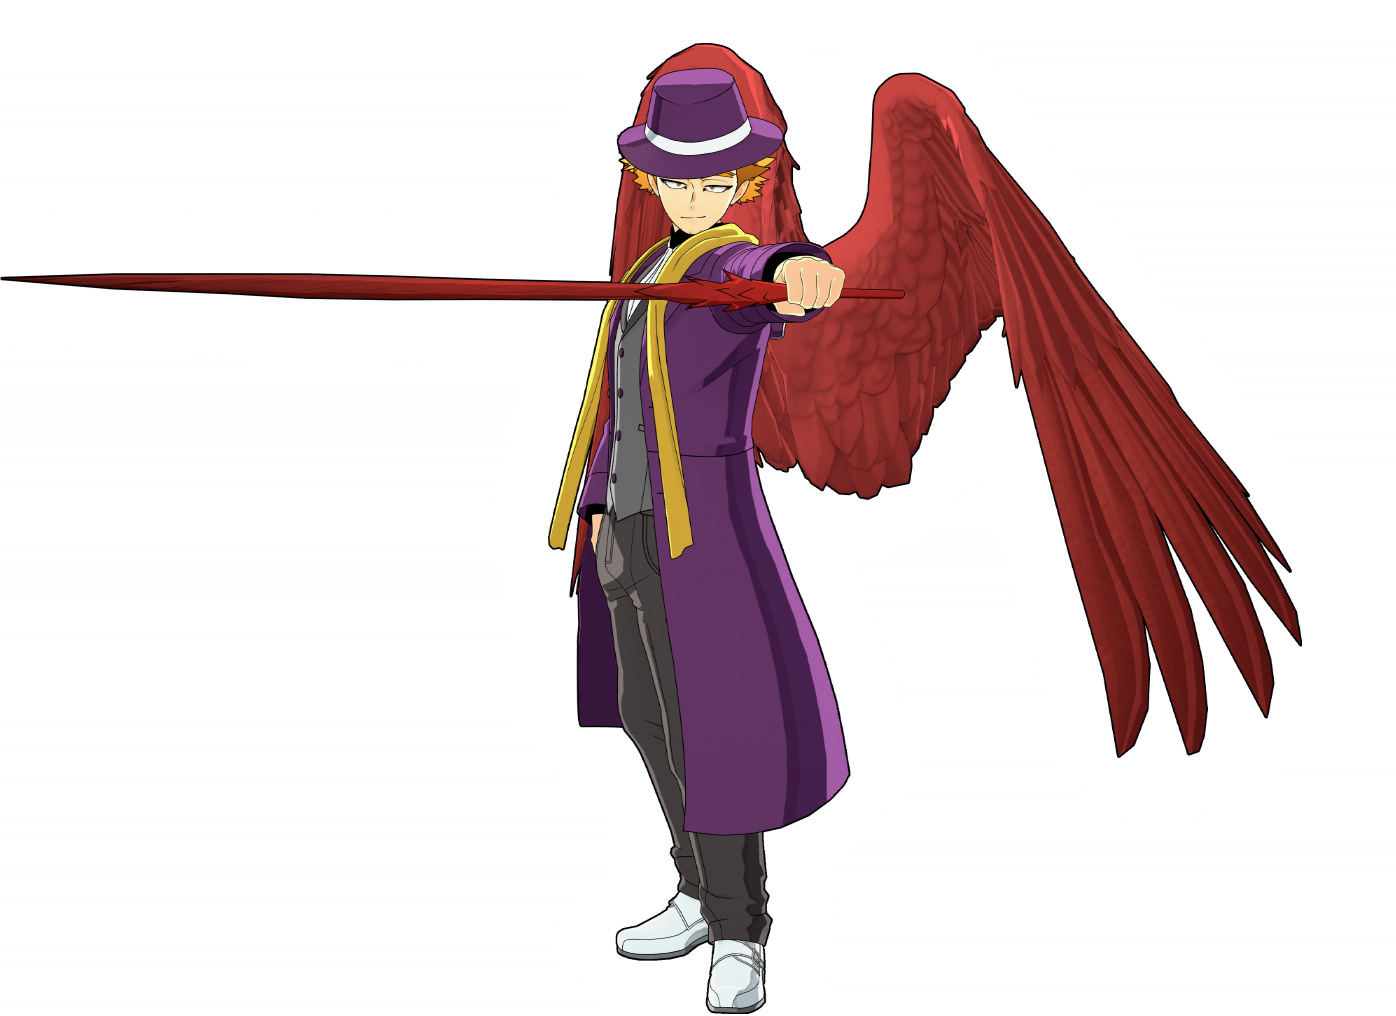
Formal Suit (Dangerous)
His only Wall Runner + Divine Protection build, which is a strong recommended pick for the best tuning combo. The regular tunes are far from fantastic but it hardly matters since your combos do so much damage anyways.
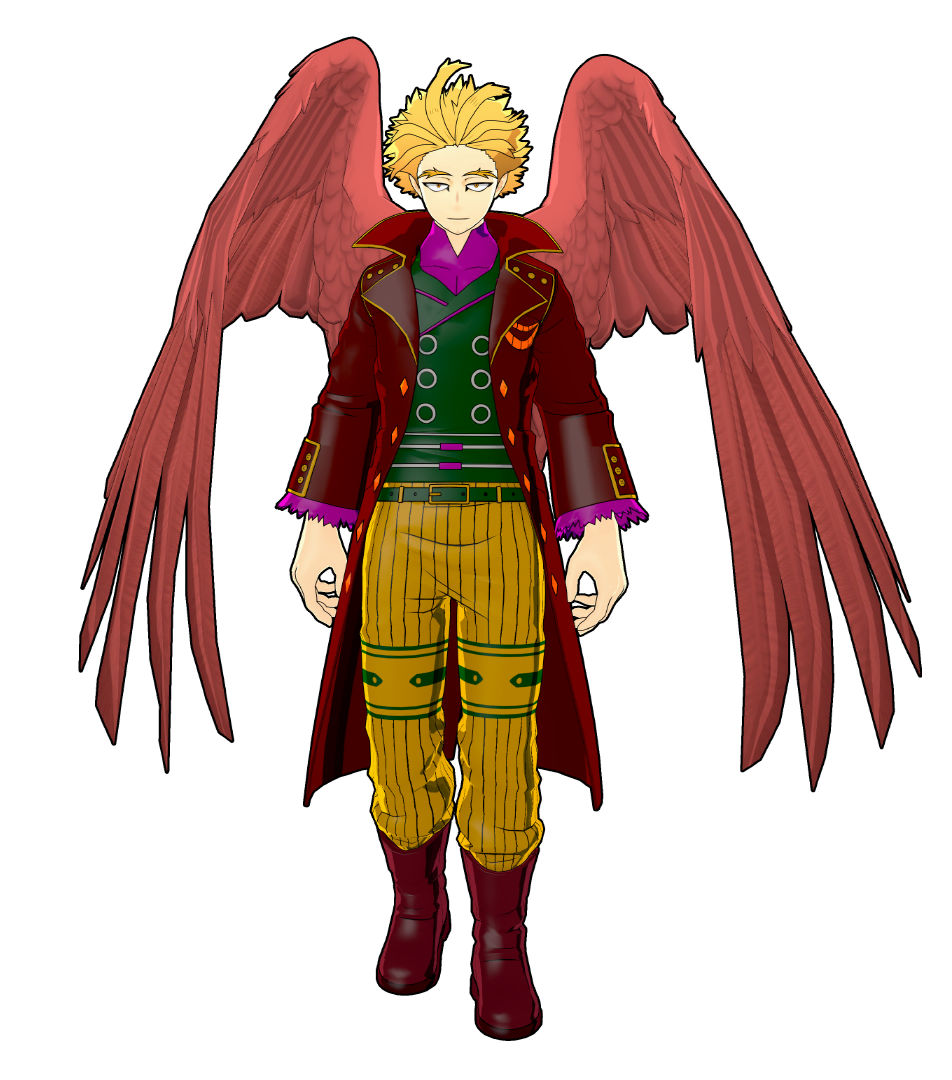
Wind General (Villain Style)
This build is primarily useful for the tech slot provided. This fit is recommended only to those looking to abuse Critical Permeation, as otherwise better options are abundant.
Parallel World (Fancy)
This outfit gets access to Quirk Factor Release/Space Hop with Divine Protection, and is one of the best Strike Hawks options as it also has good regular tunes. Very good build.
Cyber Hero Costume (Default)
Kota Finder + Space Hop is a good option to fill both checkmarks (Level Reliancy Help and Mobility Help) with the 2nd best options. Use if you don't have other costumes.
Formal Suit (Villain Style)
Good build if you want to forego the loot benefit from Kota Finder/Divine Protection and want to double up on Special Action amplifiers. Wall Runner and Quirk Factor Release are good here.
Parallel World (Heat)
Just a better version of Wind General (Combat) due to better regular tunes.
Wind General (Combat)
Basically only useful because it allows you to run Kota Finder and Divine Protection on one fit, so if you're willing to sacrifice a mobility special tune, then this is a good pick.
An alternative way of describing the match-ups will be used since the burst damage
factor of Strike Hawks is very important to his match-ups, so when looking at the rating consider the
below definitions (could be updated with better wording in the future).
Very Unfavorable - Practically the only way to win is to get a high dmg combo off before the
opponent sees you, as the opponent counters your kit extremely well and is hard to get the
combo in a face to face encounter.
Unfavorable - Your options against this character are limited and generally come
down to performing the high dmg combos, however the opponent has less ways to prevent this from happening.
Even - Not as reliant on getting the high dmg combos to win/super reliant on these combos, but performing them
is super easy
Favorable - You don't need the high dmg combos to win this match-up as your kit as a whole
performs well against the opponent / getting the combo is super consistent and easy.
Very Favorable - The opponent essentially has 0 ways to prevent you from doing what you
want. That can be a high dmg combo or simply using your kit in a more traditional way.
Each character will also be given 2 separate ratings.
Low Level - Generally this refers to Strike Hawks not having his high level capabilities
yet, but for some matchups this will also consider the opponent being low level directly.
High Level - This generally refers to when both users are full Level 9 or close to it, meaning
Strike Hawks has all his Level 7 effects and the opponent is also likely maxed out.
This distinction is important to make due to how many match-ups get affected by levels.
Izuku Midoriya (Default)
Difficulty Score (Low Levels): 🟢Favorable🟢
Difficulty Score (High Levels): 🟢Favorable🟢
Levels don't impact this match-up too much. Generally the main difference is the general
damage increase both users get. Regardless try not to use beta against this character
unless you are certain it will connect as if it fails to hit you will eat a large
blackwhip combo. Keep your superior mobility in mind and don't be afraid to run away and
take a reset if needed.
Izuku Midoriya (Full Bullet)
Difficulty Score (Low Levels): 🟢🟢Very Favorable🟢🟢
Difficulty Score (High Levels): 🟢Favorable🟢
At low levels Strike Deku lacks the massive alpha damage he needs to be a threat in this
match-up, and your own lack of armor and less damage doesn't change the match-up too much.
Try not to trade recklessly with Strike Deku's beta, as without Beta Level 7 you will be
knocked back, but you can easily wait for the endlag and punish then.
Izuku Midoriya OFA
Difficulty Score (Low Levels): 🔴Unfavorable🔴
Difficulty Score (High Levels): 🔴🔴Very Unfavorable🔴🔴
You have strong responses to every move in his kit generally. Trade with deku's melee using beta
armor, whiff punish beta with your own beta, and roll any lock-on attempts. There is one
key move that you have 0 response to however, and that is grounded alpha. Due to grounded
alphas large hitbox and projectile speed this skill can easily catch your flight and due
to its hard knockdown properties and armor you have no way to stagger him out of it, you also
have no way to trade with it either. Just try to catch him in a combo
before he realizes what's going on and then trade alphas with him from there.
Katsuki Bakugo (Default)
Difficulty Score (Low Levels): 🟢🟢Very Favorable🟢🟢
Difficulty Score (High Levels): 🟢Favorable🟢
The main difference of why low levels is more favorable here is due to Strike Bakugo not
having the ability to burst you down as fast yet, and he has much less alpha ammo. Combined
with his thin alpha hitbox you will be able to easily avoid this characters shots at all
levels and combo him for large amounts of damage with ease. As with Assault Deku, keep in
mind that if you need a reset take it, as the opponent doesn't really have any way to
prevent it.
Katsugi Bakugo (Machine Gun)
Difficulty Score (Low Levels): 🟡Even🟡
Difficulty Score (High Levels): 🟢Favorable🟢
Hitting Rapid Bakugo with low level alphas can be quite difficult, but when you get higher
levels landing those hits becomes significantly easier since your alpha hitbox increases
dramatically with levels. You also gain the ability to kill him almost instantly with a
combo once you are full Level 9, which is also great for bursting him when you catch him lacking.
Keep in mind that Rapid Bakugo is one of the few characters capable of keeping up with your
movement for extended periods of time so getting a reset won't be as easy in this match-up.
Ochaco Uraraka (Default)
Difficulty Score (Low Levels): 🟢Favorable🟢
Difficulty Score (High Levels): 🟢🟢Very Favorable🟢🟢
Beta armor lets you trade with her car throw, which lets you burst her down with little
issue. You also have a fantastic anti air with your alpha against her, as well as enough
mobility to chase her for a long amount of time, which is something she likely won't expect.
Try and stay off the ground for extended periods of time however, as she can still burst you down quickly
if she lands a gamma, but if she tries to do so you can take the opportunity and combo her
with beta so it's a double-edged sword.
Ochaco Uraraka (Zero Satellites)
Difficulty Score (Low Levels): 🟢Favorable🟢
Difficulty Score (High Levels): 🟢🟢Very Favorable🟢🟢
Assault Ochaco has no way to punish you when you are airborne, and your alpha is fantastic
at punishing her attempts to use alpha. At higher levels you gain the ability to use beta
against her alpha safely, and in doing so get a large combo which will end the battle
almost instantly. Just be weary of gamma, particularly the platform as you cannot use beta into
her gamma or you will eat a lot of damage and will likely need to reset the fight. For this
reason it's recommended not fighting her indoors too much.
Tenya Iida
Difficulty Score (Low Levels): 🟢Favorable🟢
Difficulty Score (High Levels): 🟢Favorable🟢
You have vastly better mobility than Iida and as such you will have a very easy time running away and waiting for gamma to stall. Additionally you can punish him very greatly with combos that do over 75% of his total bulk instantly, so when he stalls make sure to do the combo and then clean-up with alpha from there.
Shoto Todoroki (Default)
Difficulty Score (Low Levels): 🔴Unfavorable🔴
Difficulty Score (High Levels): 🟡Even🟡
When trying to approach Todoroki at low levels it's extremely hard to get good hits due to
your lack of beta armor, but once you get it at Level 7, you gain the ability to trade
positively against Shoto. Just stay off the ground, avoid combos not starting with beta
level 7, and do not chase him indoors. You can win this match-up but it takes careful play and
good timing to win, however you have the luxury of mobility here so you can oftentimes get
away and reset if needed.
Shoto Todoroki (Ice Fang Wind Flame)
Difficulty Score (Low Levels): 🔴Unfavorable🔴
Difficulty Score (High Levels): 🟢Favorable🟢
Feels weird to say you have the advantage against Technical Shoto after high levels but the
ability to armor through his ice with your own beta is just that important. Don't fight the
character indoors and just try to pepper him with alphas until you can go for a beta combo
to finish him off.
Tsuyu Asui
Difficulty Score (Low Levels): 🟢🟢Very Favorable🟢🟢
Difficulty Score (High Levels): 🟢🟢Very Favorable🟢🟢
You have the ability to combo Froppy for significant amounts of damage and can challenge
her main damage sources extremely well by using your alpha against her own, as well as using
your beta when she tries to come in for her own beta. That being said Froppy isn't a character
that will take fights in a 1v1 but rather try and catch you while you're weak, so if Froppy
tries this against you, use your superior mobility to escape or your high damage output to
combo her enough so that she loses the desire to chase. If she tries running from you
chase her the best you can as she is a priority target to take down in matches due to
Reinforced Revive and her teamheal capabilities.
Eijiro Kirishima (Default)
Difficulty Score (Low Levels): 🟢🟢Very Favorable🟢🟢
Difficulty Score (High Levels): 🟢Favorable🟢
Assault Kirishima lacks the ability to challenge you at any range with the only worrysome
part being his ability to armor through your melee attemps if you time them poorly. In
this match-up just don't try to go for melee attacks when the opponent is hardened and time
your betas well to punish the endlag on his skills and you'll win extremely often. Hold
alpha is a strong tool for preventing Kirishima from getting close.
Eijiro Kirishima (Red Drive)
Difficulty Score (Low Levels): 🔴Unfavorable🔴
Difficulty Score (High Levels): 🔴Unfavorable🔴
At low levels your main issue is the lack of burst damage that you need to use when you
catch Strike Kirishima in a beta, and at high levels the main issue is Kirishima's gamma being
fantastic at hitting you out of the air. Proper timing of beta level 7 to trade with his beta tap and gamma is extremely useful in this match-up, but in general just try to
play for a high damage combo and clean up with alphas from there. Don't try to challenge
Strike Kirishima too much when he has hardening active as well.
Denki Kaminari (Default)
Difficulty Score (Low Levels): 🟡Even🟡
Difficulty Score (High Levels): 🟢Favorable🟢
Strike Denki's special action can be a tough thing to play around, but once you get beta 7
you can simply armor through it and combo him anyway, and given Denki's laggy options and
poor mobility this isn't hard to land. Be wary of his stun as that can often be the end
of the fight if he lands it, so don't use beta unless you're certain it will conmect. His high
damage alpha can also be scary if the opponent can hit you with it, however this is quite
hard to do due to its mediocre range and hitbox. Like with most characters don't be afraid
to take the reset if things get too scary.
Denki Kaminari (Lightning)
Difficulty Score (Low Levels): 🟡Even (Situational)🟡
Difficulty Score (High Levels): 🟢Favorable (Situational)🟢
This match-up is hard to rate since you should have little issues if you take him head on,
however if you aren't doing so he's the bane of your existence, so for this rating
treat the situational rating as "when you aren't targeting him directly it's awful but in a
direct fight the rating provided is the rating given". Beta armor helps a lot here,
giving you the ability to armor through a beta and his special action, letting you punish
him hard, and your alpha is also a fantastic tool for this match-up since Technical Denki can't
really respond to its stagger capabilities well.
Momo Yaoyorozu
Difficulty Score (Low Levels): 🟢Favorable🟢
Difficulty Score (High Levels): 🟢🟢Very Favorable🟢🟢
Being able to use beta to challenge her alpha is really useful in bursting down Momo, but
otherwise just stay far away and use hold alpha to prevent her approach and play safe
until an opening arises. Challenging her indoors can be quite scary due to her cannons, so
like with many other match-ups don't be afraid to back off and go for a reset if needed.
Fumikage Tokoyami
Difficulty Score (Low Levels): 🟢Favorable🟢
Difficulty Score (High Levels): 🟢🟢Very Favorable🟢🟢
Tokoyami simply lacks the damage output to properly compete with you. What he does have however is a shield which can make it surprisingly difficult to actually approach him as breaking it is not as easy for Strike Hawks as it is for many others. That said you can easily escape a Tokoyami if needed due to your vastly superior mobility. Keep in mind the ground ankh melee projectile hitbox is huge and as such it will be easy for Tokoyami to land these hits while you are running so if you are going to disengage try doing so with 200 total bulk remaining if possible in order to avoid the ankh melees finishing you off before you are out of reach. Tokoyami also has really great mobility which would make it hard to escape in the short term, however his cooldowns are way longer than yours so while you may struggle to get away over small distances, you will be able to outrun him in the long run if he decides to pursue.
Neito Monoma
Difficulty Score (Low Levels): 🟣Unknown🟣
Difficulty Score (High Levels): 🟣Unknown🟣
As always this match-up is impossible to rate as you have no idea what quirks he could be
using. Bait out his stolen quirk useage and then play around it using tips provided from
the other match-ups.
Itsuka Kendo (Default)
Difficulty Score (Low Levels): 🟡Even🟡
Difficulty Score (High Levels): 🟡Even🟡
This match-up is a stalemate. As long as you don't go for any bad attacks into her beta then
neither of you can do damage to each other. If she's holding the shield too much then try
and fly through it and combo start with a melee, but a good Kendo will see this coming and
just clap you. You have the better mobility so just use this to outlast her and catch her
off guard with a combo when she's fighting other targets.
Itsuka Kendo (Twin Palm Strike)
Difficulty Score (Low Levels): 🔴🔴Very Unfavorable🔴🔴
Difficulty Score (High Levels): 🔴Unfavorable🔴
At beta level 7 you gain the ability to armor through alpha tap and gain a ton of burst damage,
which is useful when catching her off guard, however this match-up is still extremely bad
dhe to your extremely little responses to hold alpha and beta so challenging her at any
range is risky. She can also ToD you very easily for one misstep so be careful in this
match-up and try to go for a high dmg combo if the situation allows for it, but that won't be often.
Ibara Shiozaki
Difficulty Score (Low Levels): 🟡Even🟡
Difficulty Score (High Levels): 🟢Favorable🟢
At low levels it's extremely hard for Ibara to land alphas against you, and she also doesn't
have the massive armored beta option that she has at higher levels so you have great
ability to outmenuver and catch her in a combo, however you lack the burst damage to have a
significant impact on her at low levels, and her beta is still an issue if timed well. At
high levels she becomes more capable of landing shots on you, making the fight more
dangerous for both, however you gain the ability to beta through her alpha and catch her in
a combo for much higher damage so the way you approch the match-up will be different. If
you have levels focus on catching her endlag and bursting her down, but if you don't have a
lot of levels focus on survival and shooting alphas from afar. If you see an Ibara she
should be a priority target.
Mirio Togata (Default)
Difficulty Score (Low Levels): 🟢Favorable🟢
Difficulty Score (High Levels): 🟢Favorable🟢
The most dangerous part of this match-up is Mirio's alpha auto combo, but this can be greatly
mitigated with proper use of your beta armor. If the mMrio uses beta offensively you can
punish it with a combo for a lot of damage and potentially even a KO. Be wary however
that Mirio can permeate out of your beta if you are too close. The range where he can
permeate out is larger if he has GP, so spacing your beta is more important than usual
here.
Mirio Togata (Sheer Counter)
Difficulty Score (Low Levels): 🔴Unfavorable🔴
Difficulty Score (High Levels): 🔴🔴Very Unfavorable🔴🔴
At low levels Technical Mirio's counter isn't that threatening, but it can still prevent you from
landing good hits as he can counter the lingering tornado from your alpha, and just like how
Rapid Mirio can permeate out of your beta, Tech Mirio can too, but in this match-up he can instead
decide to counter or just break out of the beta, so your spacing is even more
important here. Just try and catch gamma endlag with a high dmg combo as that's your best way to kill
him, and if he just relies on alpha then use your movement to evade shots until those run out
and then swoop in for the kill.
Tamaki Amajiki
Difficulty Score (Low Levels): 🟢Favorable🟢
Difficulty Score (High Levels): 🟢Favorable🟢
In this match-up don't expect to win any direct trades since Tamaki's beta instantly hard
knocks, and his grab is of course a grab but in this match-up it's basically who can get their
hands on the opponent twice first, and given your superior mobility giving you the ability
to get a reset for free if desired means you should win, as the Tamaki won't have that same
luxury. That said this can still be a scary match-up and take multiple attempts to win if
the Tamaki has good aim and awareness.
Nejire Hado
Difficulty Score (Low Levels): 🟢Favorable🟢
Difficulty Score (High Levels): 🟢Favorable🟢
Trading with her gamma can be quite difficult if you're too close to the ground, but given
Nejire's tendency to be floating around you can easily abuse your great anti-air alpha
against her and catch her wake-ups with gamma. Beta is also good here if you catch her
charging gamma too much or using beta so just burst her down and take a reset if needed
since her alphas can hurt you a lot if she catches beta endlag well.
Nejire Hado (Fairy)
Difficulty Score (Low Levels): -
Difficulty Score (High Levels): -
NOTE: This is an early opinion and as such a rating will not be provided as counterplay for certain options may not be known yet.
Fairy Nejire vs Strike Hawks is a very volatile match-up as nejire has a incredibly large alpha hitbox and projectile speed which lets her land shots against you more consistently than essentially anyone else in the cast, however you do have a significant mobility advantage and can punish her very heavily with strong combos and catching her airborne style with your fantastic anti air options. Overall if you see a Nejire focus them above all except for instant revives like Ibara and Froppy as Nejires supportive capabilities and being a direct threat to your gameplan makes her a top priority to take out of the lobby.
Hitoshi Shinso
Difficulty Score (Low Levels): 🔴Unfavorable🔴
Difficulty Score (High Levels): 🟡Even🟡
This match-up is dependent on Whether Shinso lands his special action on you while you're in the air or not. If he
does get this then your entire special action will be drained by him telling you to move
around and this often results in your death. You shouldn't have too much of a difficult time
getting a high dmg combo on him though, due to his laggy options, especially when he's not directly
targeting you
All Might (Default)
Difficulty Score (Low Levels): 🟢Favorable🟢
Difficulty Score (High Levels): 🟢Favorable🟢
Assault All Might has a ton of lag, giving plenty of windows for a combo, and generally
lacks ways to effectively threaten Strike Hawks. Your alpha is also quite effective at
catching the endlag on gamma and punishing attempts to fly by staggering him
with alphas.
All Might (Gatling)
Difficulty Score (Low Levels): 🔴🔴Very Unfavorable🔴🔴
Difficulty Score (High Levels): 🔴🔴Very Unfavorable🔴🔴
You don't really have any way to respond to a Rapid All Might using Hold Alpha. Your best
bet is to use the Super Tornado tech, since due to the downpower reduction All Might has that
will do about 250 DMG to him instantly, but that requires you to get close to him and you still
likely lose the trade in the long run. All of this combined with Rapid All Mights mobility
allowing him to prevent any reset attempts makes this match-up quite bad.
Armored All Might
Difficulty Score (Low Levels): 🔴Unfavorable🔴
Difficulty Score (High Levels): 🔴Unfavorable🔴
Armored All Might is among the few characters capable of keeping up with your movement, and
he also has the range to punish you very effectively, but the main factor that makes this
match-up bad is the combo break effect his gamma has. If he has drones up, then comboing him
becomes too risky to go for, and if his aim is remotely good he should beat you in an alpha
trade. Punish Armored All Might with a strong combo when you can by catching him off-guard,
but otherwise his mobility, range, and combo break makes the match-up quite difficult to
win consistently.
Shota Aizawa
Difficulty Score (Low Levels): 🔴🔴Very Unfavorable🔴🔴
Difficulty Score (High Levels): 🔴Unfavorable🔴
Aizawa has fantastic 1v1 capabilities, and that's not any different here. At high
levels you can generally punish him quite well and catch him off-guard, but due to his
erasure this can be quite hard to perform. Aizawa with Electrification can also kill you in
one combo if he starts it with a gamma so be wary of that too. Take your resets and try
to 3rd party him whenever possible, and if you have him weak from a combo don't let up.
Present Mic
Difficulty Score (Low Levels): 🟡Even🟡
Difficulty Score (High Levels): 🟡Even🟡
Mic has a extremely strong ranged presence with his high damage and large hitbox alphas with the
ability to bypass your beta armor with his own beta, which makes this match-up tricky. You
do have a significant mobility advantage however, so take the resets when needed and try to
catch him off-guard with a strong combo so that you can secure with simple alphas.
Cementoss
Difficulty Score (Low Levels): 🟢🟢Very Favorable🟢🟢
Difficulty Score (High Levels): 🟢🟢Very Favorable (Situational)🟢🟢
Don't fight him indoors when he has levels as once you go inside he can block you off from
leaving and toy with you. If you stay outside however and spam hold alphas you can pressure
him quite decently by destroying the rocks and just placing large AoEs inside with him. If
you fight him outside just stay above him and pepper him with alphas with the occasional
beta combo starter if you have beta level 7, with that he shouldn't have good ways to respond to you.
Endeavor (Default)
Difficulty Score (Low Levels): 🟢Favorable🟢
Difficulty Score (High Levels): 🟢🟢Very Favorable🟢🟢
This match-up is weird since beta armor doesn't actually help all that much, but if Endeavor
has high alpha levels he can make use of its hitscan. He can hit you for consistent damage
even while you're flying really fast so be wary of that. Flame spear is also a strong option to counteract your own beta if you miss,
as the endlag is enough for Endeavor to get a spear almost every time. Just keep yourself
mobile and use your alpha knockdown to catch him if he's flying too high in the air.
Endeavor (Inferno Fist)
Difficulty Score (Low Levels): 🟢🟢Very Favorable🟢🟢
Difficulty Score (High Levels): 🟢🟢Very Favorable🟢🟢
Assault Endeavor's kit is extremely oriented around grounded targets, and yours is
extremely good against air targets so in general you shouldn't have an issue here. The only
move Endeavor has that can land good damage on you is his alpha, but due to its mediocre
speed and hitbox you should be able to evade hits extremely easily, and in the off-chance
you need a reset you can get one for free due to your vastly superior movement. Catch any
beta and gamma attempts with your beta and combo him for high damage, and then catch any
air wakes with your alpha to finish the job.
Hawks (Default)
Difficulty Score (Low Levels): 🟢🟢Very Favorable🟢🟢
Difficulty Score (High Levels): 🟢Favorable🟢
Rapid Hawks can be kinda scary, but given that you have more movement than he does, as well
as a fantastic burst damage game with a fantastic anti-air tool, you shouldn't have many
issues. Rapid Hawks gets a lot of value from levels however, so at higher levels you can't
completely ignore him, though he still isn't a top priority.
Hawks (Slicing Wind)
Difficulty Score (Low Levels): 🟡Even🟡
Difficulty Score (High Levels): 🟡Even🟡
This match-up is a game of chicken. Neither person wants to try and start a combo because if they miss the opponent will get a free combo, so for this match-up just stay back and go for alphas. Go in for a beta if you see the opponent miss their own beta.
Mt Lady
Difficulty Score (Low Levels): 🟢🟢Very Favorable (Situational)🟢🟢
Difficulty Score (High Levels): 🟢🟢Very Favorable (Situational)🟢🟢
Fighting Giant Mt Lady can be quite hard, but when she's in small form she's essentially a
free kill. Just stay in your beta's effective range and Mt Lady can't really hit you at all,
allowing you to find an opening and combo her for a lot of damage, and likely get a kill.
Against Giant Form however it's recommended just abusing your i-frames and making good use of
the i-frame tech to reposition away from her for free. You don't beat Giant Form, you
simply wait it out and then combo her.
Tomura Shigaraki (Default)
Difficulty Score (Low Levels): 🟢🟢🟢Extremely Favorable🟢🟢🟢
Difficulty Score (High Levels): 🟢🟢Very Favorable🟢🟢
Strike Shigaraki has no ways to land attacks on you while you are in the air, so proper use
of air stalling options including alpha, hold alpha, beta, gamma, special action, and even
melee makes you invaluable to most of Shigaraki Tomura's options. Taking a 1v1 against this character
indoors at level 9 can be scary if you don't already have some damage, but outside of that
situation he's a free kill.
Tomura Shigaraki (Catastrophe)
Difficulty Score (Low Levels): 🟢🟢Very Favorable🟢🟢
Difficulty Score (High Levels): 🟢🟢Very Favorable🟢🟢
Assault Shigaraki, like his strike counterpart, has little options to hit you when in the air, but he also
has the ability to ToD you if he gets his hands on you, so be careful and stay in the air
when he's on you. Having armor on beta helps a lot at preventing the ToD.
Tomura Shigaraki (Thousand-Hand Break)
Difficulty Score (Low Levels): 🔴🔴Very Unfavorable🔴🔴
Difficulty Score (High Levels): 🔴Unfavorable🔴
Technical Shigaraki's immortal build makes it super hard to achieve significant damage to him. Beta level 7 is needed to trade with Technical Shigaraki's alpha, however it is not possible to catch his wake-up reliably due to beta's fast hitbox and downpower, so it's recommended to never try to catch his wake-up or challenge beta's startup. Strike during beta endlag, alpha endlag (only with beta level 7) and when he turns gamma on, and with some team assistance you will break through his defenses. Technical Shigaraki does struggle to land consistent damage on you thanks to your movement so focus on outliving him and punishing at every opportunity.
All For One (Default)
Difficulty Score (Low Levels): 🟢Favorable/Unknown🟣
Difficulty Score (High Levels): 🟢🟢Very Favorable/Unknown🟣
"Unknown" is regarding his stolen quirks, which could either make the match-up unwinnable or
not help him at all, and there is no way to know for sure so this match-up won't consider the
effect of a stolen quirk. If he has one, just play like you're fighting the
character he has stolen by using the other written match-ups.
All For One lacks mobility, but also has high damage ouput at range and the ability to push you
back. However when you have beta level 7 you gain the ability to armor through his beta, which
makes the match-up significantly easier, as getting the ToD combo is now way harder for AFO
to prevent. Just use your movement and if he's inside a building be prepared to fly away
and outside of gamma's range if he goes for it.
All For One -Youth Age-
Difficulty Score (Low Levels): 🔴🔴🔴Extremely Unfavorable🔴🔴🔴
Difficulty Score (High Levels): 🔴🔴Very Unfavorable🔴🔴
Young AFO has everything he needs to counter you. His special action removes your own, and his
large AoEs make it hard to fly around and maneuver. He also has the advantage of armor on a
skill he can move around with, so if he's in gamma flight you should forget about any combos. Your best bet
against this character is to try and run away so he locks onto someone else and then
maybe trying to take him down with a high damage combo or simply wait for him to get shot by someone else, AKA he's not
your problem to solve. This match-up is difficult and takes extreme skill and wall run to
simply survive without special action.
Dabi (Default)
Difficulty Score (Low Levels): 🟢Favorable🟢
Difficulty Score (High Levels): 🟢Favorable🟢
Technical Dabi can't really do much to you, however he can also make it extremely hard for you to
kill him and survive unscathed, as he can simply sit on top of a trap, which causes you to
get knocked down if you try to beta or gamma him while he's on it. Alpha also isn't as
effective since Tech Dabi can just put up a gamma. Fortunately you can kinda ignore Tech Dabi
a lot of the time and not suffer from it, since his mobility is so low and his range is
pityful so just wait for him to rotate to a new building and catch him with a combo then.
Otherwise ignore him for the most part.
Dabi (Crazy Torch)
Difficulty Score (Low Levels): 🟢Favorable🟢
Difficulty Score (High Levels): 🟢🟢Very Favorable🟢🟢
Strike Dabi has the ability to hit you extremely hard if he gets his hands on you, but due
to your mobility it's extremely hard for him to do this reliably and get the kill from it.
Be wary of his gamma as it will combo-break you if you are on him for too long, so it's
best to keep your combos short and sweet here. Run away and take the reset if needed but
otherwise just stay above him ready to combo.
Himiko Toga (Default)
Difficulty Score (Low Levels): 🟢Favorable🟢
Difficulty Score (High Levels): 🟡Even🟡
The main deciding factor here is the alpha hitbox. Toga without the alpha hitbox will
especially never land any significant shots against you due to your super high speeds, but
Toga with the alpha hitbox is able to catch your attempts at running away for the reset
if her aim is good enough, usually however, their aim isn't that good, so this match-up won't be a
hassle oftentimes. Just play against this character like you would against most beamers, keep
yourself agile, look for windows to combo, take the combo if the opportunity arises, and if it
doesn't arise then take a reset if needed.
Himiko Toga (Sting Dance)
Difficulty Score (Theoretically): 🟡Even🟡
Difficulty Score (Low Levels): 🟢Favorable🟢
Difficulty Score (High Levels): 🟢Favorable🟢
The reason the "Theoretically" section was added is because if Rapid Toga is good at Strike
Hawks then the match-up is quite difficult, but due to Strike Hawks' massive skill ceiling
you won't see this essentially ever, so generally it's favorable.
Just try to catch her endlag with a combo and if you need a reset take it, as she can't keep
up with you in range or mobility unless she's good at Strike Hawks, in which case she will
just become you and chase extremely well.
Twice
Difficulty Score (Low Levels): 🟢🟢🟢Extremely Favorable🟢🟢🟢
Difficulty Score (High Levels): 🟢🟢🟢Extremely Favorable🟢🟢🟢
Twice has one of the worst alphas for landing hits on high speed targets like Strike Hawks,
and his range is very short on his gamma and beta, so he can't really use that against you.
The only problem this character may bring you is if he has clones, as you can't go for long
combos against Twice as his clones will beam you for it. Otherwise he's just like every
other beamer but even worse at fighting you so it should be a free win.
Mr. Compress
Difficulty Score (Low Levels): 🟢Favorable🟢
Difficulty Score (High Levels): 🟢Favorable🟢
You have the mobility to keep up with Compress quite easily and have the capabilities to
combo him a lot if he abuses his beta too much. Condition him into using beta by using
your own alpha and then combo him with a beta starter. If he tries to run use deductive
reasoning or watch the marble to try and find out what direction he went and then kill him
from there.
Kurogiri
Difficulty Score (Low Levels): 🟢Favorable🟢
Difficulty Score (High Levels): 🟢Favorable🟢
You have the mobility to keep up with Kurogiri's portals quite well, and can even armor
through his portals with level 7 beta if you want to try that mix-up. It's very hard for
Kurogiri to escape you and properly assist his team, however his beta combos can still be
quite threatening so be careful when fighting him as to avoid getting hit by the combos.
Lady Nagant
Difficulty Score (Low Levels): 🟡Even🟡
Difficulty Score (High Levels): 🟢Favorable🟢
A character that's favorable against Nagant, indeed. Praise be, this is because Strike Hawks
has absurd mobility and mix-up potential which makes it unreasonably difficult for Nagant
to land consistent shots given her relatively small alpha hitbox and alpha speed. You are also among
a small amount of characters capable of keeping up with Nagant, which is an extremely useful
trait to have since you are probably the only one on your team capable of catching her
when she's low, and your fantastic burst damage is extremely useful at taking her out of the
game. The only issue is that if you whiff a beta Nagant will punish you extremely hard for
it so beta is hard to justify in the match-up. You also may have trouble running away for a
reset against really good nagants due to her range and mobility but all in all your high
speed movements are very hard for Nagant to track, letting you get the jump on her and
destroy her in one or 2 interactions.
Overhaul
Difficulty Score (Low Levels): 🟢Favorable🟢
Difficulty Score (High Levels): 🟢🟢Very Favorable🟢🟢
The ability to armor through his gamma is extremely useful in this match-up, but outside of
that Overhaul doesn't really have the ability to hit you when you are in the air. Approach this match-up by
attacking from above and doing beta into alpha combos, since gamma only works when he doesn't have special action avaliable. Once you have seen him use
special go in for the kill with a beta into gamma combo and you should win this match-up
quite confidently.
Overhaul (Blighted Precipice)
Difficulty Score (Low Levels): -
Difficulty Score (High Levels): -
NOTE: This is an early opinion and as such a rating will not be provided as counterplay for certain options may not be known yet.
This match-up seems very bad as Overhaul has great mobility, a self heal, and a fantastic anti air option with his alpha due to the insane tracking it has. To top all of this off Overhaul's gamma has insane tracking and can be an instant kill on the spot if he hits you while you are too high in the air. Overall it's suggested waiting for the heal and then going in for the kill before he gets it back as you may not have another opportunity to deal with him and regain the ability to safely fly across the skies.