
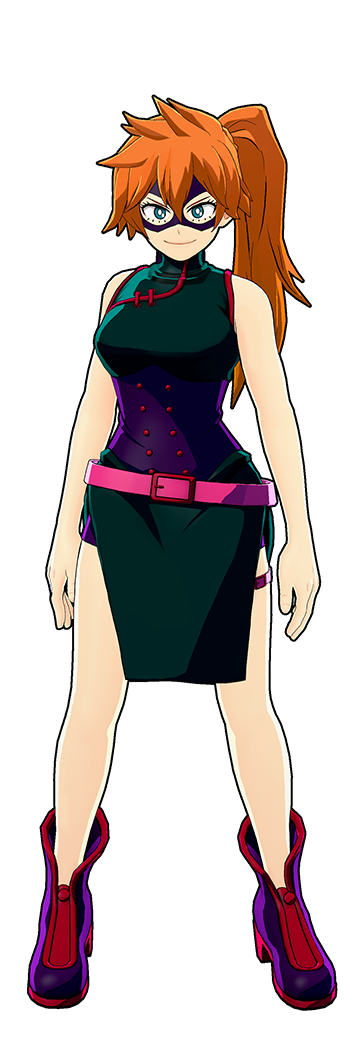


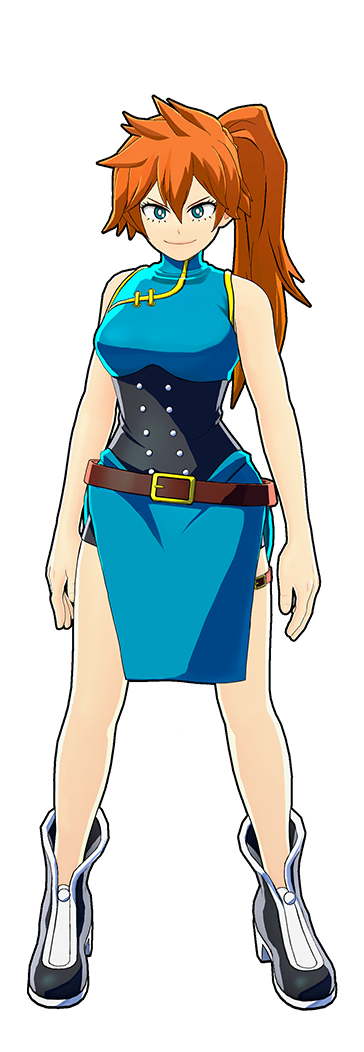
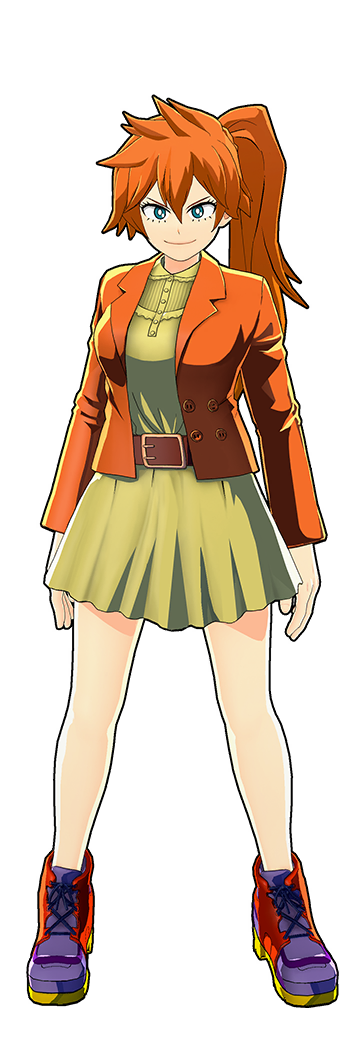
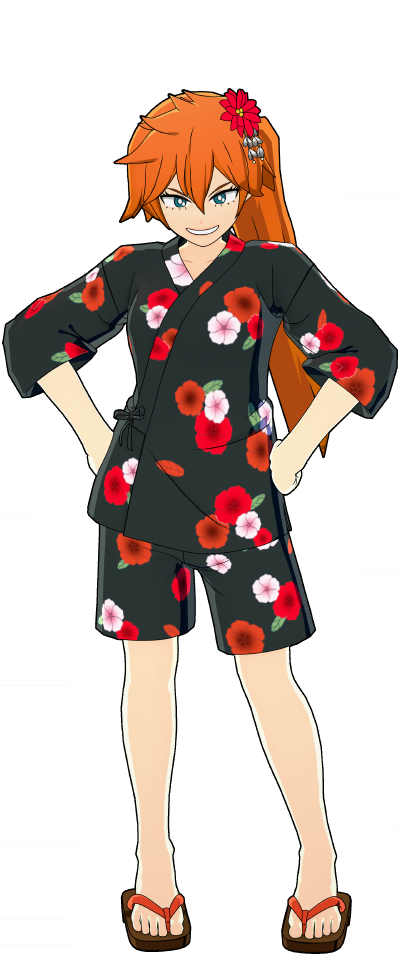
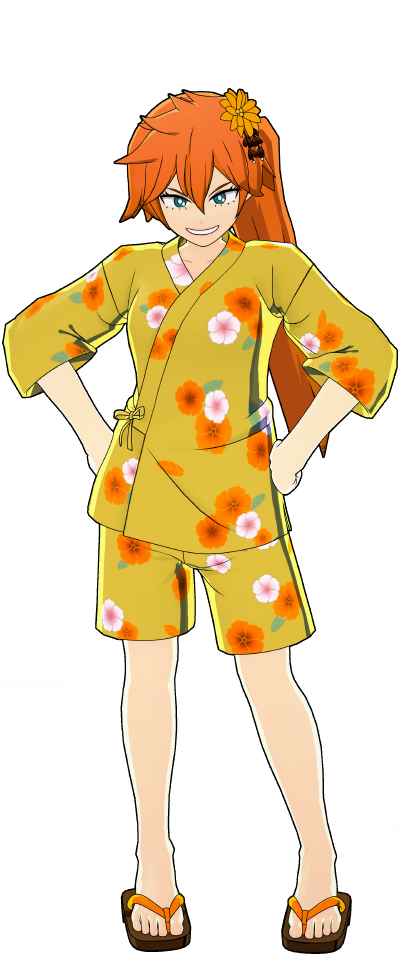
Hero Costume (Villain-Style)
This costume is what you should use if you are looking for Card Duplication with Fixer with decent damage, howerver this costume is good for being a support character rather then a demon. An option for a budget build.

Last Update: December 22nd 2025 7:30 PM UTC
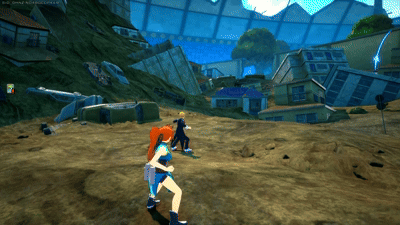
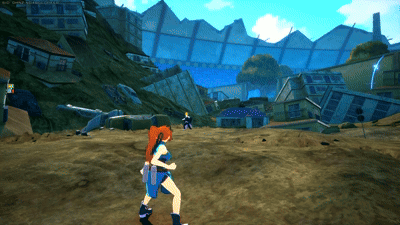
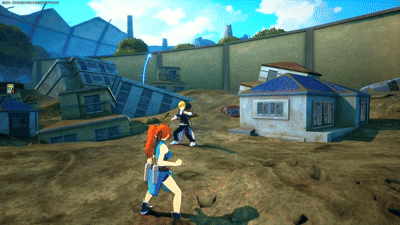
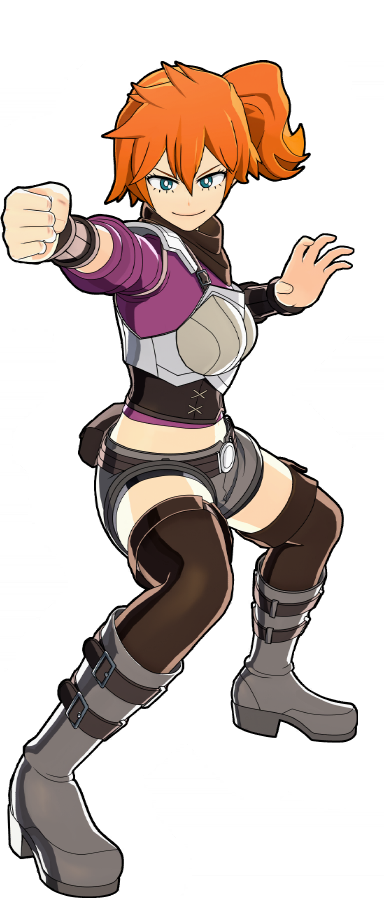
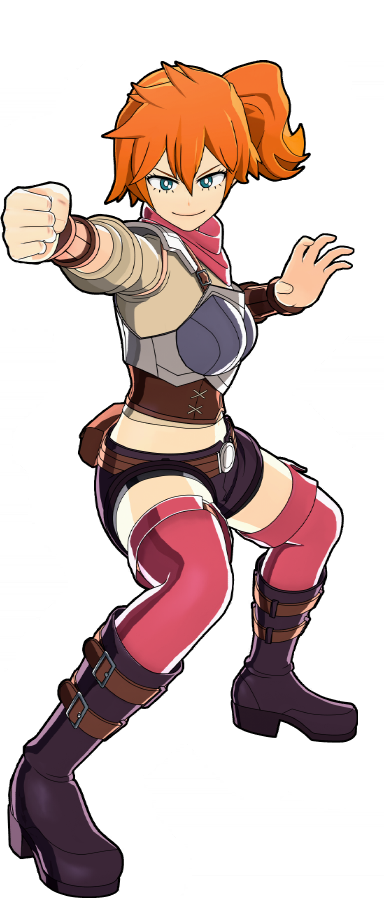
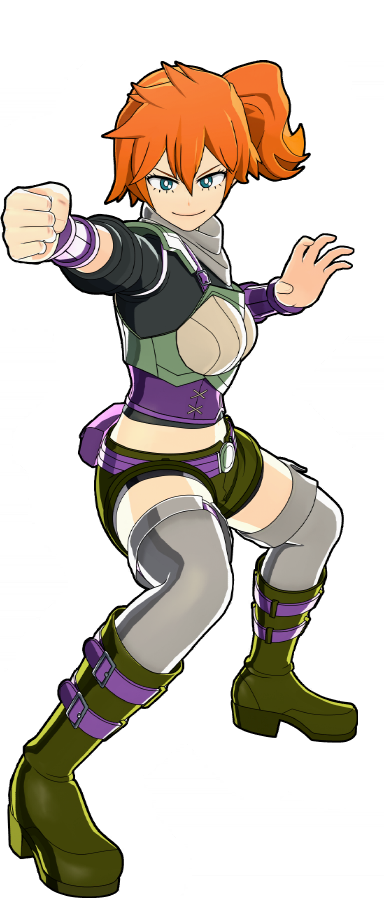
Itsuka Kendo is an assault character who excels at pumping damage and control. While she can hit hard, she isn’t a pure brawler who can recklessly push into every fight alone. Kendo thrives as a team-oriented fighter, using her shield, and punishes to create openings and protect her allies. She is especially effective at punishing careless enemies who underestimate her due to her limited mobility. Assault Kendo has a lot of technical depth, with many mechanics and techs that reward players who master her full kit. However, because she lacks strong movement options, positioning is extremely important when playing Kendo - holding good ground is often the key to surviving and winning fights.


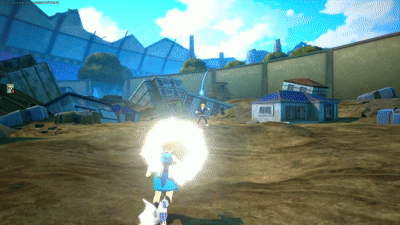
Kendo’s Alpha skill is similar to the Alpha skills of beam-type characters such as Izuku Midoriya or Bakugo. It deals high damage at close range and its effectiveness varies with distance, depending on the opponent’s position. The skill has decent range and functions much like a shotgun blast.
It’s a straightforward ability — if your aim is solid, you’ll have little to worry about when using it. However, avoid using it like a typical beamer’s attack from long range against another beamer, as you’ll likely lose the trade.
Both the aimed and unaimed versions have the same effect; it simply comes down to whether or not you prefer to aim. There’s no functional difference between the two.
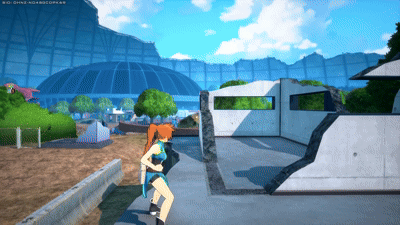
Kendo's Beta skill is a versatile shield that allows you to control the pace of a fight, protect allies and yourself, and stagger then punish enemies that are careless. Beta can be held indefinitely until the button is let go or breaks at 0%.
Due to Beta's large size, it can be double-edged sword for Kendo. It allows for a large safe angle to protect yourself and teammates, but at the cost of blocking attacks that would otherwise miss, potentially breaking shield faster. When in buildings, this flaw can be mitigated. By holding shield in an entrance to a room or building, this will minimize the areas that a stray attack can land and ensure you block attacks that will certainly hit. Knowing when and where to shield can be key difference in changing the tide of a fight.
Kendo's Beta skill is excellent at protection, whether it be for your teammates, yourself, or both. Keep in mind depending on the situation using a big orange shield may draw more attention than necessary.
In general, great times to use Beta are when your teammates are performing actions that leave them vulnerable. This includes, but is not limited to drinking a team heal, opening a chest, finishing off an opponent, or reviving. When you and your teammates are low HP, it can be a good idea to prioritize shielding your team before you heal yourself. This is to ensure that most of your team can safely recover to full HP and GP.
In addition to protecting your allies, Kendo's Beta can separate an opponent's line of sight from your team. With your shield blocking their line of sight, it can create an overwhelming player advantage. A fight that could be 3v3 can be potentially be 1v3 for as long as your shield holds. This is particularly effective against characters that mainly fire projectiles. An enemy will need to waste time to find a different angle of attack, or an enemy can attempt to go through you, in which case you should try to...
Kendo’s Beta skill is what sets her apart from the rest of the cast due to its strong punish potential. Using Beta, you can punish opponents who hit the shield because any physical attacks that lands on your shield they get stopped and staggered making it easier to land your gamma or melee chains, or use it to block incoming projectiles. How effectively you can block and punish depends on your experience and reaction time. Over time, you’ll develop a sense of when to use the shield and when to drop it.
Beta cannot always be used reactively, unlike its Strike counterpart. Keep in mind that you’re still vulnerable to attacks from behind, from the ground, and from wide-area effects. Enemies can also walk through the shield — if they do, they can hit you directly. You can punish these situations using your Melee, Alpha, or Gamma skills.
The punish options differ depending on the situation. For example, if an opponent hits your shield while in the air, you should almost always punish with Gamma, since most of your melee hits will miss. On the other hand, when punishing grounded opponents, you should ideally use melee attacks or short combos for the best results.
The interactions between skills and Kendo's beta are as follows:
✅ Means "Blocks and Staggers"
🟡 Means "Blocks Only"
❌ Means "Ignores"
➖ Means "Not Applicable"
* Denotes skills that can go through Beta at close ranges
** Denotes skills that need to be blocked at specific angles
| Battle Style | Alpha | Beta | Gamma | Special Action | Melee |
|---|---|---|---|---|---|
 Izuku Midoriya
|
🟡 | ✅ | 🟡 | ➖ | ✅ |
 Izuku Midoriya - Full Bullet
|
🟡 | ✅ Heel 🟡 Shockwave |
❌ | ➖ | ✅ |
 Izuku Midoriya (OFA)
|
🟡 Ground 🟡 Air |
✅ Normal ❌ Overdrive |
❌ Normal ✅ Overdrive |
➖ | ✅ Ground ✅ Air** |
 Katsuki Bakugo
|
🟡 | 🟡 | ✅ Cartwheel 🟡 Explosion |
➖ | ✅ |
 Katsuki Bakugo - Machine Gun
|
🟡 | 🟡 | 🟡* | ➖ | ✅ |
 Ochaco Uraraka
|
🟡 | ✅ Spin 🟡 Throw |
❌Float AoE ✅ Debris |
➖ | ✅ |
 Ochaco Uraraka - Zero Satellites
|
🟡 Throw ✅ Swing |
✅ | ❌Float AoEs ✅ Debris ✅ Floating Island |
➖ | ✅ |
 Tenya Iida
|
✅ | ✅ | ➖ | ➖ | ✅ |
 Shoto Todoroki
|
✅ | ❌ | 🟡** | 🟡 | ✅ |
 Shoto Todoroki - Ice Fang Wind Flame
|
🟡 Fire 🟡 Ice* |
🟡 Ice 🟡 Explosion |
🟡 | ✅ | ✅ |
 Tsuyu Asui
|
🟡 | ✅ | ➖ | ➖ | ✅ |
 Eijiro Kirishima
|
✅ | ✅ | 🟡* | ➖ | ✅ |
 Eijiro Kirishima - Red Drive
|
✅ | 🟡 | 🟡 | ➖ | ✅ |
 Momo Yaoyorozu
|
🟡 | ✅ Shield Run | 🟡 Cannonball 🟡 Explosion |
➖ | ✅ Melee 1, 2 🟡 Melee 3 (Hammer) |
 Denki Kaminari
|
🟡 Bullet 🟡 Connection |
❌ | ✅ | ➖ | ✅ |
 Denki Kaminari - Lightning
|
🟡 Normal 🟡 Lock-On |
🟡 | ✅ | ➖ | ✅ |
 Neito Monoma
|
🟡 | ✅ Knee ✅ Dash |
✅ | ➖ | ✅ |
 Itsuka Kendo
|
🟡 | ➖ | ✅ | ➖ | ✅ |
 Itsuka Kendo - Twin Palm Strike
|
🟡 Normal 🟡 Charged |
✅ | ✅ | ➖ | ✅ |
 Ibara Shiozaki
|
❌ | 🟡 | ✅ | ➖ | ✅ |
 Mirio Togata
|
✅ Uncharged ❌ Charged |
❌ | ❌ | ➖ | ✅ |
 Mirio Togata - Sheer Counter
|
🟡 | ✅ | ❌ | ➖ | ✅ |
 Tamaki Amajiki
|
🟡 Swordfish 🟡 Tentacle |
✅ | 🟡 | ✅ | ✅ |
 Nejire Hado
|
🟡 | 🟡 | 🟡 | ➖ | ✅ |
 Hitoshi Shinso
|
🟡 | ✅ Grounded ✅ Air |
🟡 | 🟡 | ✅ |
 All Might
|
🟡 Bullet 🟡 Shockwave |
✅ Dash 🟡 Tornado Slam |
✅ | ➖ | ✅ |
 All Might - Gatling
|
🟡 Bullet | 🟡 Projectile ✅ Dash |
✅ | ➖ | ✅ |
 Armored All Might
|
🟡 Ice 🟡 Fire |
🟡 Shock ✅ Pull |
🟡 | ➖ | ✅ |
 Shota Aizawa
|
🟡 Grounded ✅ Air Dash |
✅ | 🟡 | ❌ | ✅ |
 Present Mic
|
🟡 | 🟡 Tap 🟡 Hold |
✅ | ❌ Boombox Throw 🟡 Boombox Alpha 🟡 Boombox Beta |
✅ |
 Cementoss
|
🟡 Ball ❌ Creation |
❌ | 🟡 Ball ❌ Creation |
➖ | ✅ |
 Endeavor
|
🟡 | 🟡 Arrow 🟡 Pillar |
🟡 | ➖ | ✅ |
 Endeavor - Inferno Fist
|
🟡 Projectile 🟡 Fire Ground (Facing Endeavor) |
🟡 Initial Hits ❌ Pull |
🟡 Ball 🟡 Explosion |
➖ | ✅ |
 Hawks
Hawks
|
🟡 | ✅ | 🟡 | ➖ | ✅ |
 Hawks - Slicing Wind
|
🟡 | ✅ Dash 🟡 Follow-through |
✅* | ➖ | ✅ |
 Mt. Lady
|
🟡 Regular 🟡 Giant 🟡 Giant Explosion |
🟡 Regular 🟡 Giant |
✅ Regular 🟡 Giant |
➖ | ✅ |
 Tomura Shigaraki
|
🟡 | ❌ | ✅ | ✅ | ✅ |
 Tomura Shigaraki - Catastrophe
|
🟡 Debris 🟡 Cracks |
🟡 Debris 🟡 Pulses |
✅ Dash 🟡 Shockwave |
✅ | ✅ |
 Tomura Shigaraki - Thousand-Hand Break
|
❌ Initial Hit ✅ Extended Arm |
✅ | ❌ | ✅ | ✅ |
 All For One
|
🟡 Regular 🟡 Charged |
✅ | ❌ | ✅ | ✅ |
 All For One (Youth Age)
|
🟡 Regular 🟡 Explosion |
🟡 Line** 🟡 Expansion |
🟡 Orbs 🟡 Expansion |
🟡 | ✅ |
 Dabi
Dabi
|
🟡 | 🟡 | ❌ | ❌ | ✅ |
 Dabi - Crazy Torch
|
🟡 | ✅ | 🟡 Pulse 🟡 Expansion |
🟡 | ✅ |
 Himiko Toga
|
🟡 | ✅ | 🟡 | ➖ | ✅ |
 Himiko Toga - Sting Dance
|
🟡 | 🟡 | ✅ | ➖ | ✅ |
 Twice
Twice
|
🟡 | 🟡 | ✅ | ➖ | ✅ |
 Mr. Compress
|
🟡 | ➖ | 🟡 | ➖ | ✅ |
 Overhaul
|
🟡 | ❌ | 🟡 | ✅ | ✅ |
 Kurogiri
|
🟡 Projectile 🟡 Linger |
🟡 Portal Shot | 🟡 Alpha 🟡 Alpha Linger 🟡 Beta |
➖ | ✅ |
 Nagant
|
🟡 Projectile | 🟡 | 🟡 Grounded 🟡 Aerial |
🟡 | ✅ Melee 1, 2 🟡 Melee 3 (Bullet) |
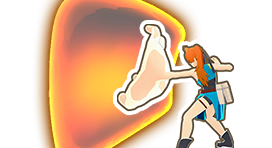
Kendo’s Gamma skill allows her to lunge forward and deliver a powerful clap that deals solid damage. It has some of the best armor in the game and can be used to punish almost any opponent. However, be cautious when using it against players who understand how to fight Kendo — they can bait out your Beta or Gamma and punish you after dodging.
Your Gamma and melee attacks are your primary punishing tools, so try to use Gamma only when you’re confident the enemy won’t evade it. You can also use this skill to gain a bit of extra movement.
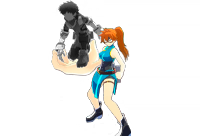
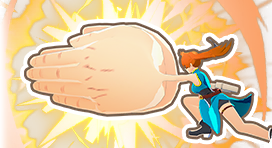
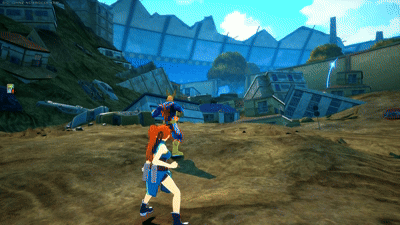
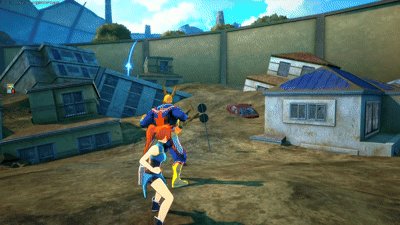
Kendo’s Special Action allows her to carry an ally with her enlarged hand. This is a great team ability, as it lets you throw your teammates across the map. For example, you can use it to reposition a character with limited mobility, such as Momo Yaoyorozu, or to help a low-HP teammate escape. When an ally is drinking, their momentum is lower than normal when thrown. To avoid this, throw an ally right after they finish their drink.
However, keep in mind that during your Special Action, you cannot attack. This leaves you vulnerable, so be aware of nearby enemies who can easily punish you while you’re stationary and unable to fight back.
You can also use this ability offensively — for instance, by throwing a teammate forward to quickly chase down an enemy. Once thrown, your teammate can immediately use their mobility skills to follow up. Technically, allies can still attack while being carried without dismounting, but this has limited utility and is mostly for fun. Certain attacks that root the user in place, such as Ibara’s moves, will cause the carried player to dismount.
Interestingly, a Hawks player can even carry a Kendo who’s carrying another teammate.
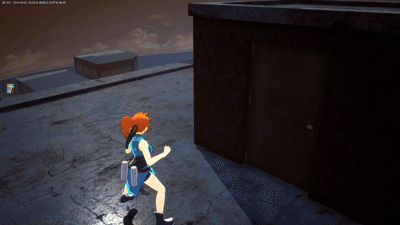
Ground Melee
A 4-string combo with a strong lunge when you're close to the opponent. This can be used as an alternative to Beta when Gamma is too slow against faster characters such as Iida, Rapid Deku, or Rapid All Might. You can also choose not to complete the full melee chain and instead interrupt it midway to mix in another skill, such as Alpha or Gamma. Be cautious when using melee attacks, as you’ll be vulnerable to other enemies while performing them. (See more in the combo section.)
Air Melee
Kendo jumps and lunges forward enlarging her hand for a big hit. You can land two air melees before the knockback for a combo with any of your skill depending on where you are. You can mix your combos between melees and skills, more onto that in the combo section.

A path for players who want to use their alpha. Ideally you also want Beta 4 for easier punished and Gamma 9 afterwards. The downside however is that your gamma will be low level so you need experience before you start leveling alpha first.
![]()
![]()
![]()
![]()
![]()
For players that want to play Kendo as a punish character or if you don't feel like aiming. The only downside is that your alpha will be low level. This is the recommended path for newer Kendo players.
![]()
![]()
![]()
![]()
![]()
If can cancel Kendo's beta skill midair with alpha, you will keep your aerial momentum, essentially letting you move faster. This works very well when it comes to chasing since you can attack at the same time you keep yourself fast.
When falling off a building or ledge, using Air Melee quickly after will give you a nice boost in forward momentum. If you do it too early (right at the edge), you will lose momentum.
By combining Alpha Gliding with Air Melee you can lunge forward for greater distances.
You can get consistent access to Alpha Glide Extensions on terrain by equipping 3 Forward Jump HT+ normal tunes on Kendo (possible with 2, but consistent with 3) without the need of Acceleration or Rapid Ability Cards. The characters that give this tuning attribute are Ochaco Uraraka (Rapid), Hitoshi Shinso and Himiko Toga (Rapid).
The different ways you can combine and chain various skills for higher damage within 500 DP (Downpower). The downpower of Itsuka Kendo's abilities are as follows:
Alpha Skill: 25 DP (Per rock), 100 DP (Full Hit)
Beta Skill: - DP
Gamma Skill: 500 DP
Ground Melee 1-2-3-4: 100 DP (Individually), 400 DP (Whole Chain)
Air Melee: 150 DP
The text of the combos below will be colored by how true they are, in this case, we will define as "True" combos that, without 3rd party or tuning interference, can only be escaped/interrupted by Overhaul and/or Mirio, as those are special cases.
White Text means that part of the combo is True on both GP and HP.
Green Text means that part of the combo is True if the target is on HP only.
Blue Text means that part of the combo is True if the target is on GP only (Guardbreak hits are considered GP hits).
Red Text means that part of the combo is Untrue, and therefore the enemy can escape it.
The DMG of the following combos at max level and accounting for the character's strike role is classified under the following tags:
Basic DMG (100-149 DMG), Basic+ DMG (150-199)
Light DMG (200-249 DMG), Light+ DMG (250-299)
Medium DMG (300-349 DMG), Medium+ DMG (350-399)
High DMG (400-449 DMG), High+ DMG (450-499)
Heavy DMG (500-549 DMG), Heavy+ DMG (550-599)
Deadly DMG (600-649 DMG), Deadly+ DMG (650-699)
A combo that takes advantage of melee's 400 total downpower to sneak in an extra alpha. This combo works fully on both HP and GP, but on GP the window is significantly tighter to execute, however with consistent practice it can be hit. Attack Speed buffs such as Acceleration or Rapid Ability Cards can make it easier to fully land on GP.

A combo that makes use of her air melee to keep the enemy locked midair and finish with a gamma. Only works on HP.
Not a true combo. It does not knock down, but it's faster than other variations and lets you decide what to do next.


Not a true combo. A variation of the previous combo but with gamma.


Not a true combo, but if the opponent reacts the wrong way, you will be able to deal good damage.
Not a true combo. A stronger variation of the previous combo.
Not a true combo, but if they don't recover fast enough they will take full damage. Works best if the target is thrown towards lower ground.
Not a true combo, but if the opponent reacts the wrong way, the reward is worth it.


Strike Slots: Dabi > Kirishima > Bakugo > Else > Beta DMG
Assault Slots: Assault Endeavor > Assault Shigaraki > Else
Rapid Slots: Rapid Bakugo > Rapid All Might > Else
Support Slots: Overhaul > Ibara/Kurogiri/Momo > Mr. Compress > Cementoss
Technical Slots: Kaminari (Lightning) > Aizawa > Toga > Else
| The list of recommended special tunes (not ordered): | ||
|---|---|---|
 |
Wall Runner Since Kendo lacks a bit of mobility you can use wall runner to compensate the lack of mobility. It also removes the need of collecting various cards such as technical and rapid cards. |
|
 |
Embrittlement Kendo's melee is good, you can use embrittlement to amplify your damage. You can activate it using any sort of melees, pretty self explanatory. It also allows your teammates to deal more damage to the enemy you've struck. |
|
 |
Acceleration A solid option that makes Kendo speedy and makes it basically impossible to dodge her alphas. |
|
 |
Fixer Since Kendo does a lot of damage, you can use fixer to do even more damage with the right build and the right slots. If you can pair this with Embrittlement you've got yourself some absurd damage. |
|
 |
Revenge Rapid A budget alternative to Wall Runner that works well for very specific builds. |
|
 |
Trance Blow Trance blow can be used to slow enemies using your melee to do insane damage, however depending on character and chaos around you it can backfire. |
|
 |
Card Duplication Recommended tuning for somewhat experienced Kendos, more levels are always good, especially if you can KO people easily. |
|
 |
Crushing PU Charge Recommended for experienced Kendos who can KO people easily, getting PU per KO always helps you get away from situations where you would not be able to otherwise. |
|
 |
Symbol of Peace Useful for extra survivability, especially in the early game. |
|
 |
Willpower This tuning works with every character, as surviving lethal attacks with 1 HP is always useful. However, you gotta be wise with how you use your i-frames, Kendo's mobility is quite low, so this tune will only delay your death if you don't play wisely. |
|
 |
Revenge Strike Since Kendo does absurd damage, revenge strike will always work with her. Getting a damage boost upon being guardbroken is nice. |
|
 |
Revenge Support Heals you when guardbroken, this tuning is useful if you like using the Poison Mist to your advantage. This tuning is very specific and useful, recommended for newer Kendo players. |
This costume is what you should use if you are looking for Card Duplication with Fixer with decent damage, howerver this costume is good for being a support character rather then a demon. An option for a budget build.


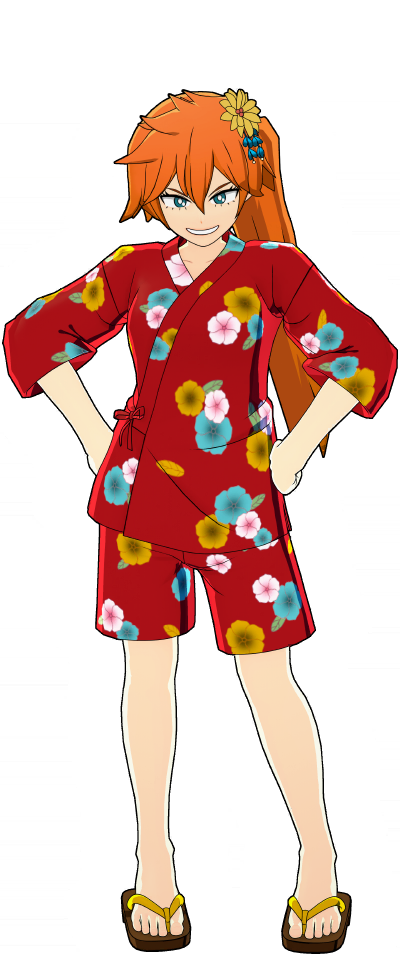
This costume is very good for someone looking for damage without using PUR costumes combined with good special slots. You can pair Trance Blow and Fixer on this build for pure damage. High-Speed Replenishment works too, however that is totally up to you.


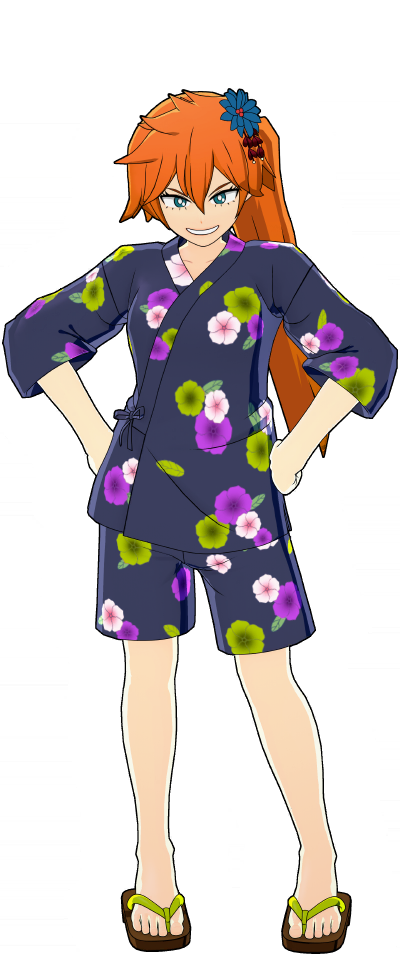
This costume is what you should use if you want to use Embrittlement on a budget build. The costume has a good combo of everything: Damage, Defense and Reload. You can use Embrittlement + Fixer or High-Speed Replenishment totally up to you. The downside of this costume is the lack of red slots.

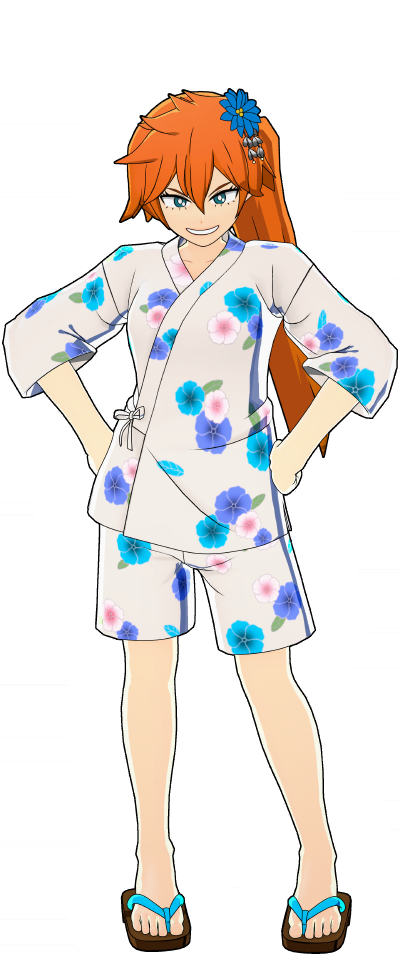
If you want to use Willpower recommended using this costume as it has good normal slots. For budget builds this is one of the best costume to use as it has pretty much everything you need except for Embrittlement which you can compensate for with Willpower.


Recommend using this costume if you want to use Wall Runner PUR build, however it's recommended you always use HP sucker on this build, this costume has good balance of everything.

Recommended using this costume if you want to make a build purely made for survival, as you can combine Willpower with Revenge Assault on this build. You can also use Trance Blow in this build, although not recommended. You can even use Symbol of Peace too however it's also not recommended.

You can use High-Speed Replinishment + Critical Permeation on this costume , it is your average costume that you can use to make a build purely for survical. you can also use fixer on this build howerver not recommended.

Recommeded using this build for another Willpower build, howerver you can use Trance Blow on this build too, making this costume even better. It has good normals too. You can also use Wall Runner or Perception for the Rapid slot.
If you want to build a PUR build and are looking for damage with good special slots, you can use this costume as it has good mix of everything, the only downside of using this costume is the lack of blue normal slots. Recommended combining embrittlement with HP Sucker on this build as this costume has alot of red slots.
Recommend using this costume for a PUR Willpower build combined with HP Sucker as there's nothing better on this costume.
You can use Embrittlement on this costume combined with Wall Runner or GP Sucker. It's a decent Embrittlement + Rapid slot costume if you are looking for some sort of movement while having Embrittlement.
Recommended using this build for newer Kendo players as you can use Revenge Support on this build combined with Fixer, nothing crazy on the normal slot side like with every Yukata costume, so it's recommended making full use of Fixer on this build.
Recommended for newer and passive Kendo players as you can use Symbol of Peace/Space Hop combined with Compression Magic, Warp Heal or Reinforced Revive to help out your team, however only use this costume if you are a really really passive Kendo and very new one.
Recommended using this build for Revenge Strike with Wall Runner/Card Duplication/GP Sucker since all of the yukata costumes follow same theme on the normal slots. Recommended making full use of Revenge Strike on this build.
You can use Space Hop or Embrittlement on the first special slot while on other special slot you can use Critical Permeation, it's a decent costume if you are looking for a costume with Critical Permeation.
This is a decent budget costume for an Embrittlement build as it has good amount of strike slots, with decent secondary slot. Recommended tunes for this costume are Embrittlement and Compression Magic.
You can use few things on this costume: Willpower, Trance Blow and Wall Runner or Acceleration tuning. It is a very strong costume.
Just like Festival Yukata (Villain-Style) this costume is literally same as that costume. You can use Embrittlement with Acceleration or Wall Runner on this costume.
Best recommended tuning for this costume is Revenge Strike with Embrittlement. There is literally nothing better to use on this costume.

Difficulty Score: 🟡Even🟡
Assault Deku can outrange you with his alpha, but you can outdamage the deku upclose, both Deku and Kendo have equal mobility, however Deku can use his blackwhip to help him outrange you and get away from you. Assault Deku match-up is pretty much even, it really depends on what you and the Deku does, what you have is more damage while Deku has a tiny bit more movement, you can use your damage and melee to your advantage to win this match-up.
Difficulty Score: 🟡Even🟡
Pretty much same thing as Assault Deku, however on this match-up your best bet to win is melee and gamma hits, both Kendo and Deku have the same amount of damage pretty much speaking, however one thing to watch out for in this match-up is Full Bullet's gamma, the rest is pretty much same as Assault Deku match-up.
Difficulty Score: 🟡Even🟡
Try and expect his gamma and beta at low gears, while at high gears this matchup is very different as you should watch out for everything Deku does and have to play by his mistakes. The best thing you can do in this match-up is to not let Deku get a melee on you and to not let him escape.
Difficulty Score: 🟢Favorable🟢
Both of you guys have insane damage and both of you are practically the same character, however the match-up rules are pretty much same as fighting an Assault Deku. One thing you can do different on this match-up is blocking the gamma and catch his Special Action.
Difficulty Score: 🔴🔴Very Unfavorable🔴🔴
Avoid this fight. Rapid Bakugos are flying around all day long, your alphas barely reach them, and your combos don't work so long as he's flying, he also has amazing mobility to escape from you. Your best bet is to either avoid this match-up altogether, jump him, or try to exploit his mistakes. Going inside a building might help you if he gets overconfident, as his low HP makes him fragile. If you manage to land a few good strikes and he's upclose, don't let him escape, or else he will be a pain to deal with later on.
Difficulty Score: 🟡Even/Unfavorable🔴
On this match one thing u gotta watch for is the knee air melee from Ochaco and Gamma, the rest depends on what Ochaco you face and what you can do. However on this match-up you may need few a few rapid cards to kill her.
Difficulty Score: 🟡Even🟡
You can block her beta easily, both of you have the same amount of damage and almost same amount of battle movement. One thing you gotta watch out for in this match-up is to not let the Ochaco float you whenever you can and to not let Ochaco make an island to heal herself, the rest are self explanatory, block the beta, watch the gamma, use your melee properly and never ever let Ochaco staill with her island or run away.
Difficulty Score: 🔴Unfavorable🔴
While you can block everything an Iida does, because of his speed it's difficult to deal with everything, and even punish a good Iida, it depends on you skill and how good you are at punishing. This match-up can be both even 🟡 or 🔴 unfavorable depending on your and Iida's skill, however one thing you must do on this match-up is punish a burnt iida.
Difficulty Score: 🟡Even🟡
Both you and Shoto are close range demons with insane damage, however on this match-up you gotta be careful to not get hit by his beta and his gamma whenever you can. Same rule as fighting an Assault Deku pretty much besides that.
Difficulty Score: 🟢🟢Very Favorable🟢🟢
You counter everything Shoto does... literally. You can block his gamma, his beta and his alpha. Everything he does you can counter it using your shield, however one thing you gotta be careful on this match-up is to not get frozen during his alpha, besides that this matchup is very very favorable for kendo.
Difficulty Score: 🟢🟢Very Favorable🟢🟢
This matchup is very favorable for Kendo, if you see a Froppy coming your way you can use your alpha, and if she comes very close, you can even use your melee to stall Froppy close to you, just use your melee properly on this matchup and Froppy can never touch you.
Difficulty Score: 🟢🟢Very Favorable🟢🟢
This match-up is very easy for Kendo, as you can block everything except for gamma, which is the only thing you gotta watch for in this match-up, besides that this matchup depends on how good on you are at blocking and dodging.
Difficulty Score: 🔴🔴Very Unfavorable🔴🔴
This match-up can be even 🟡 depending on the player, both of you have armored gamma, however the biggest difference in this matchup is that Kirishima can use his armored move in the air, and that's a game changer in this match, and also the fact that Kirishima has a better shield and combo than yours while also having similar melees. Red Drive also outdamages you while having largely more movement then you do. This match-up is all about who punishes and uses shield properly.
Difficulty Score: 🟡Even🟡
Both of you have insane damage, both Denki and Kendo have practically the same movement, both Denki and Kendo are practically the same character, however one thing you gotta watch out for in this match-up is that you don't wanna get stunned as it means death or sometimes being very low after his combo, you gotta use melees beta and alphas properly on this match-up while avoiding getting stunned by Denki.
Difficulty Score: 🟢🟢Very Favorable🟢🟢
This match-up is very favorable to you, however if you see a Denki sniping above a building don't get greedy, let him come to you instead, both of you have similar combos, his stun combos don't hurt as much as his default counterpart, upclose you outdamage him by a lot, and he cannot do too much to you while you also have your armored gamma. On this match-up, one thing you should watch for is his gamma, just don't let Denki get away whenever he tries to by using melee or gamma.
Difficulty Score: 🟢🟢Very Favorable🟢🟢
This match-up is very favorable to you simply by the fact you have armored moves and better melee. Besides that, on this match-up just never get into a building with Momo spamming cannons and you should be all good.
Difficulty Score: 🔴Unfavorable🔴
It's Monoma he can do everything you do but better, with infinite movement you have to be really good with melees and your skills to kill good Monomas as they have no CDs. There's not much to say he's just Monoma, however you can use your combos to kill him quickly, as he has low HP.
Difficulty Score: 🟡Even🟡
This match-up is about never getting hit by melees and gammas. It's literally you,so whoever plays best the Kendo game will win, though tuning can change things a bit.
Difficulty Score: 🔴Unfavorable🔴
This match-up is unfavorable to you simply because Strike kendo has way more movement than you, however you can win this matchup by blocking the Kendo's beta and gamma to punish her, same thing for the melee. Both of you have equal shield however there is one advantage you have with your shield, that is you can block forever while she cannot. This matchup can be 🟡 Even. Depending on your opponent it can be Unfavorable or Even, just remember to never get caught by the melees, beta and gamma while playing on Kendo's mistakes.
Difficulty Score: 🟡Even🟡
This match-up is even for Kendo as she can outdamage an ibara upclose, however on this match-up what you gotta watch for is to never fight an Ibara long range, as Ibara counters Kendo at this distance thanks to her alphas special piercing property. However, you counter Ibara upclose.
Difficulty Score: 🟡Even🟡
This match-up is very favorable to you as Kendo can dodge everything Mirio does, just punish everything he does, especially his beta. The rest of this match-up is pretty self explanatory just punish everything he does and do good dodges.
Difficulty Score: 🔴Unfavorable/Even🟡
This is a match-up which Kendo can most definitely win, however you have to be really careful as ;irio has better damage and movement then you do, and a counter to punish you. Patience is key in this match-up even if he runs away that's okay in this match-up as you can fight again anyway knowing when he will use his counter and waiting for it is a way to win this match-up. Winning is definitely possible but you have to be really careful, also remember to block his beta with your own if you see it coming. If you can predict his counters, he's not that difficult, otherwise it's unfavorable
Difficulty Score: 🟡Even🟡
Both of these character have combos that hurt hard, however Tamaki has better mobility than you do. This is a match-up that really depends on how fast you can close your distance, your best bet here is to kill him as soon as possible before he can run away and try not to get grabbed as that can hurt a lot, however your beta blocks everything he does, but blocking his gamma may require very high level beta.
Difficulty Score: 🟢Favorable🟢
This match-up is very favorable to Kendo as she can punish everything a Nejire does while having insane damage. Nejire cannot do too much to you no matter where Nejire is as long as you have a few rapid cards in your inventory. However, while grounded, one thing you gotta watch for in this match-up is Nejire's gamma as it can hurt Kendo a lot and can ruin your momentum, besides that this match-up is all about using your rapid cards properly to kill a Nejire, she cannot do much to you because your gamma counters Nejire pretty hard, even if Nejire is in the air one gamma pretty much counters her, recovering or not.
Difficulty Score: 🟡Even🟡
This match-up is even because both you and shinso have insane damage and he's trying to do the same thing as you are getting up close and using beta for damage, however in this match-up there is one thing you gotta watch out for, and that is if a Shinso has Space Hop tuning this matchup can be 🔴 unfavorable too depending on your dodge and punish skill. This match-up is self explanatory, never let Shinso learn and punish him upclose as he can't do much at that range.
Difficulty Score: 🟢🟢Very Favorable🟢🟢
This match-up is very favorable to Kendo because you can block everything besides alpha. There is just one rule on this match-up and that is to know when All Might is gonna gamma and never let it throw you away as All Might can punish you hard if he does that, so on this match-up your best bet is to punish the beta and gamma while trying to close the gap and never let All Might run, catch his Special Action and betas using melee and gamma as Kendo can't do much far away, Assault All Might is overall pretty slow, so you shouldn't have much trouble.
Difficulty Score: 🟢Favorable🟢
This match-up is favorable to Kendo, literally same rule as fighting an Assault All Might, quite literally close the distanse and punish the All Might, everything he does you can punish him, including his gamma. One thing you gotta watch for in this match-up is to never let an All Might catch you by surprise, even then you do so mucb damage that All Might cannot do much to you. Never fight a Rapid All Might on a long range as Kendo can't do much to him far away and he can do alot to you, especially if you don't take cover when he's using alpha, as your shield might not be able to withstand it and break otherwise.
Difficulty Score: -
Coming Soon...
Difficulty Score: 🔴Unfavorable🔴
This match-up is the equal opposite to All Might. He can punish everything you do, literally. Your best bet on this match-up is to punish his mistakes, such as trying to close the distance or missing his alphas or gamma. However remember he can punish everything you do. On this match-up you have two big advantages, these being your insane damage and an armored move (gamma), you can use that to close the distance, both of you have equal melees trying to do the same thing. This matchup can also be 🟢 very favorable to you depending on the player.
Difficulty Score: 🟡Even🟡
Both of these characters deal very high damage, but have very limited mobility. Each character has a unique strength: Kendo has hyper armor on her gamma, while Mic has a beta that ignores all moves. This match-up is purely based on being able to block Mic’s beta and how the speaker is positioned. However, Mic has very low overall HP compared to Kendo, meaning he can die in just two interactions. The best recommendation for this match-up is to block the beta and capitalize on the opening.
Difficulty Score: 🔴Unfavorable🔴
Just never attempt to fight a good Cementoss without experience and rapid cards, as Cementoss does not care about anything you do as Kendo cannot do much. This match-up depends on usage of rapid cards and experience, however this is still very very unfavorable to you.
Difficulty Score: 🟢Favorable🟢
This match-up is one of the easiest for Assault Kendo as she outdamages him and she has better mobility than Strike Endeavor. Only thing you have to be mindful on this match-up is to be careful when fighting Endeavor inside rooms or buildings, always melee to stop him from using his Special Action on this match-up as you don't want Endeavor to get a high ground.
Difficulty Score: 🟢Favorable🟢
This match-up is a bit different compared to its Strike counterpart, here you have to be careful how you move and try not to let him beta you, with the insane run speed Kendo has this is also one of the easiest match-ups for her as things that apply in Strike Endeavor's match-up apply here aswell such as trying to not to let him Special Action his way above you, if you do end up getting hit by his beta use your own beta or gamma to get out of it or just stand in his beta blocking his upcoming gamma or alpha and it should be a okay.
Difficulty Score: 🟢Favorable🟢
This is also one of the easiest match-ups for Kendo as Hawks' most damaging move (beta) is a physical attack, and the rest of his kit can be blocked with your beta. On top of that with the help of good tuning you can also have better movement than he does, however only thing you have to be careful is to close your distance asap when you know he's low or when you knows he's gonna run away with this Special Action, in that case you should cancel his it with your melee.
Difficulty Score: 🟡Even🟡
Both of these characters have long combos, however since every single Hawks move is physical except for his alpha, that gives Kendo a significant advantage overall, since you are able to block most of them
, however he also has a significant advantage over you at movement, since Hawks has alot more movement that he can use to get away from Kendo at any time, your best bet for this match-up is to either third party the hawks or ignore the Hawks entirely as it brings nothing to the table.
Difficulty Score (Small Form): 🟢🟢Very Favorable🟢🟢
Difficulty Score (Giant Form): 🔴Unfavorable🔴
This match-up is one of the easiest for Kendo as she outdamages Mt Lady and you also have better mobilty, the only thing you have to be careful in this match-up is when Mt Lady goes Giant and is looking for you that's when the match-up becomes unfavorable, however small Mt Lady should not be too much of an issue, you can punish her beta with your combos and Mt Lady's gamma movement with your own movement.
Difficulty Score: 🟢Favorable🟢
At level 9, fighting a Strike Shigaraki can be a little dangerous, however with proper positioning this match-up is not a issue at all as you outdamage Shigaraki, your beta can block the upcoming gamma. Fighting low level Shigaraki should not be an issue. It's recommended jumping a high lvl Shigaraki before he jumps on you in this match-up.
Difficulty Score: 🟢Favorable🟢
Kendo literally does everything he does but better: combos, movement, damage..., you have everything he does but better, however when fighting upclose against an Assault Shigaraki you have to be careful of his upcoming gamma and his combos, as it can put you into a bad position or even kill you with his ToDs. After the combo, you can block everything he does with your beta too so that's a plus in this match-up.
Difficulty Score: -
Coming Soon...
Difficulty Score: 🟢Favorable🟢
This match-up is very favorable to you simply because of the fact that both of you are very grounded character and you can punish every mistake All For One does while also outdamaging him. One thing you gotta watch for in this match-up is to never get pulled in by his gamma, and try not to get hit by the beta as if All For One has a good second quirk this match-up can get very unfavorable, however he's very favorable if you just punish everything he does.
Difficulty Score: -
Coming Soon...
Difficulty Score: 🟢Favorable🟢
It's Technical Dabi, he can't do much to you, just don't get into a building with a Dabi spamming his abilities constantly as he can outdamage you inside of one, that's the only rule.
Difficulty Score: 🟢Favorable🟢
This match-up is very favorable to you because you can block his only 2 moves he has, that is alpha and beta. Just do that and this matchup is very easy for Kendo. Even if he explodes it's okay for you as Lendo has a lot of HP.
Difficulty Score: 🟢Favorable🟢
This matchup is very easy to you because you can block everything Toga does, just dodge properly, as Toga was nerfed very hard, so there's not much to say just punish everything Toga does, you can punish her even if she tries to close the distance.
Difficulty Score: 🟡Even🟡
This match-up is even to you because you have much more damage and am armored move, however on this match-up you must dodge the Toga's beta because if she lands that on you she gets a free gamma and alpha on you. The beta is literally the only move you gotta work around in this match-up, that's it. The rest depends on how good you are at closing the distance and dodging.
Difficulty Score: 🟢Favorable🟢
This match-up is favorable to you simply by the fact you can block everything Twice does and also the fact that after the nerfs he lost all his combos. This match-up depends on your blocking skill, even then this match is just dodging, blocking and punishing his attacks 'til you're close enough to take him down. Even if he tries to run away, he's kinda slow, even though he's a rapid.
Difficulty Score: 🟡Even🟡
This match-up is even to you depending on you skill, however one thing to note is that your melee and gamma literally counters everything compress does, use that to your advantage and never let compress run away with gamma, as otherwise he will successfully run away.
Difficulty Score: 🔴Unfavorable🔴
Upclose you can do so much on this match-up and that's your only chance to win it. Generally speaking unless you can get upclose and guarantee kill there is almost no point fighting a Kurogiri far away, always fight a one upclose, but generally speaking Kurogiris play with good distance, everything you do he can do too, be it insane damage, insane combos..., your best bet on this match-up is fighting up close and not letting kurogiri get too far away from your initial place, however another mistake you gotta avoid is to never chase Kurogiri too hard, as Kendo doesn't have good mobility to compensate, and also the fact that your team may die if you go too far with no movement.
Difficulty Score: -
Coming Soon...
Difficulty Score: 🟢Favorable🟢
Your gamma literally counters everything he does and thats all you need to know on this match-up, and you can also dodge everything he does to make this match-up even more favorable to you. Overhaul cannot really do much to you.